Dec 19, 2024
What if it was possible to build an Android app without writing a single line of code? At the OpenAI Application Explorers meetup, Godfrey Nolan, President of RIIS, proved that it’s possible by leveraging OpenAI’s new Canvas interface.
This tutorial will explore how to harness the capabilities of GPT-4 and the Canvas framework to create an engaging Zodiac Android app. We’ll walk through the process of leveraging AI to streamline app development, from generating code to creating visually stunning astrological illustrations. As usual, you can follow along with the video from the meetup or by reading the written version below.
Introduction
The concept of using AI to generate code is not new, but the capabilities of modern language models like GPT-4 have dramatically expanded what’s possible. Canvas, a feature of GPT-4, provides a more interactive and visual way to generate code, making it an exciting tool for developers looking to accelerate their app development process.
Our Zodiac App Features
Our Zodiac Android app will include the following key features:
Secure login screen
List of zodiac signs
Detailed information for each sign
Daily horoscopes
AI-generated zodiac sign illustrations
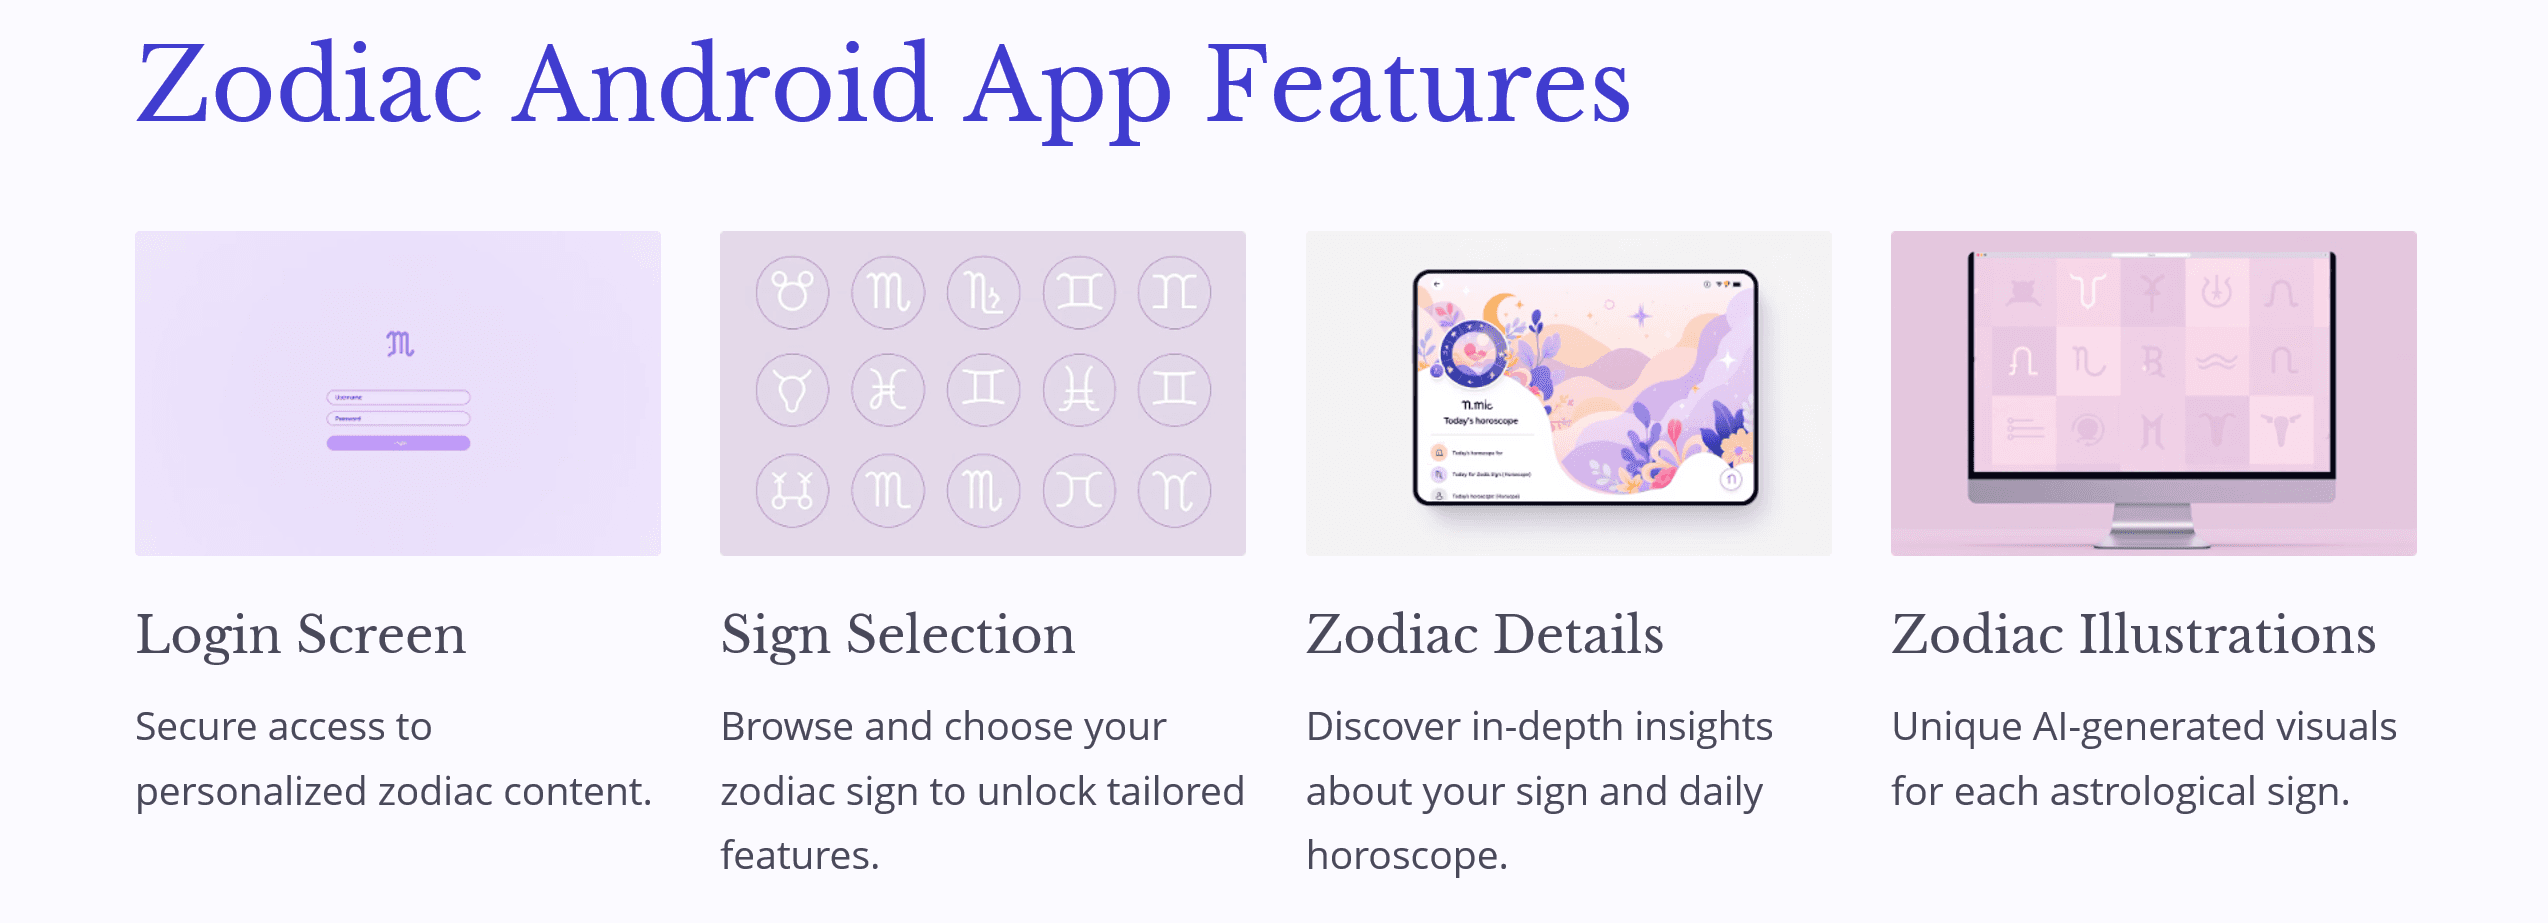
By incorporating these elements, we aim to create an app that not only provides valuable astrological insights but also offers a visually engaging and personalized experience for users.
Creating the App
Setting Up the Project
To begin, we’ll create a new Android project using Android Studio. For this tutorial, we’ll focus on creating a simple, functional app rather than using the latest Android features. We’ll target API level 24 (Android 7.0), utilize ListView instead of RecyclerView, employ traditional XML layouts instead of Jetpack Compose, and use older Gradle build files for compatibility.
Creating the Login Screen
Our first step is to generate the login screen. We’ll use GPT-4 with Canvas to create the layout and activity files. Accessing Canvas is very simple. Log into the web version of ChatGPT and open the drop-down menu in the top-left corner to select the model, ‘ChatGPT 4o with Canvas’. Once the right model is selected, you can use the following prompt to generate our first file.
generate an android layout file and a MainActivity.kt Kotlin file for a login activity that has a username, password input fields and login button
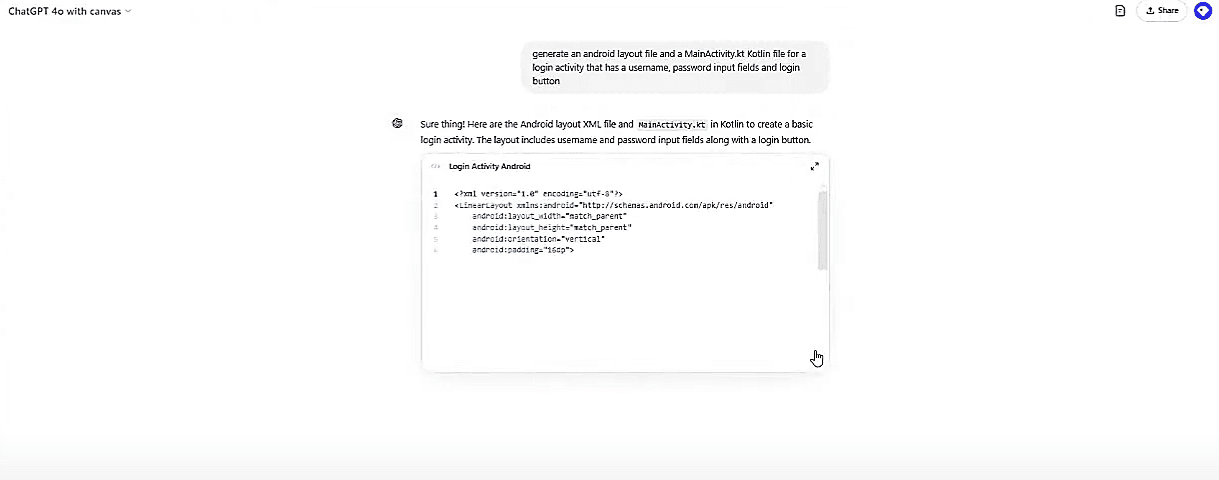
Hitting enter to submit the prompt should open the Canvas UI and the file will start generating on the right while the chat remains available on the left.
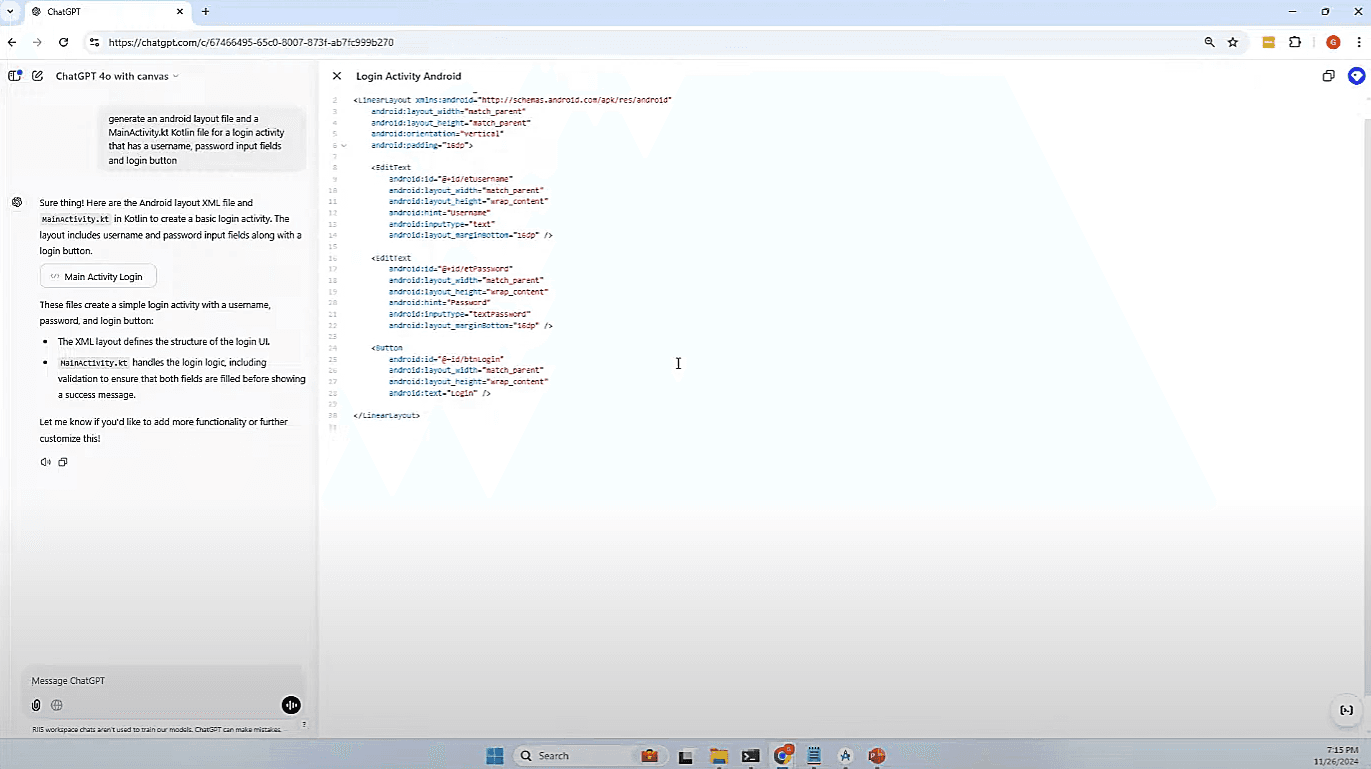
The same way that normal chat can feature errant responses to prompts, Canvas can sometimes get a little finnicky. In our live example, it only generated one of the files we wanted, but with a little extra prodding will get you to the right spot. It’s probably best to leave the prompt intact and request both files in a single convo since the conversation history will help provide context for the LLM to generate self-consistent code.
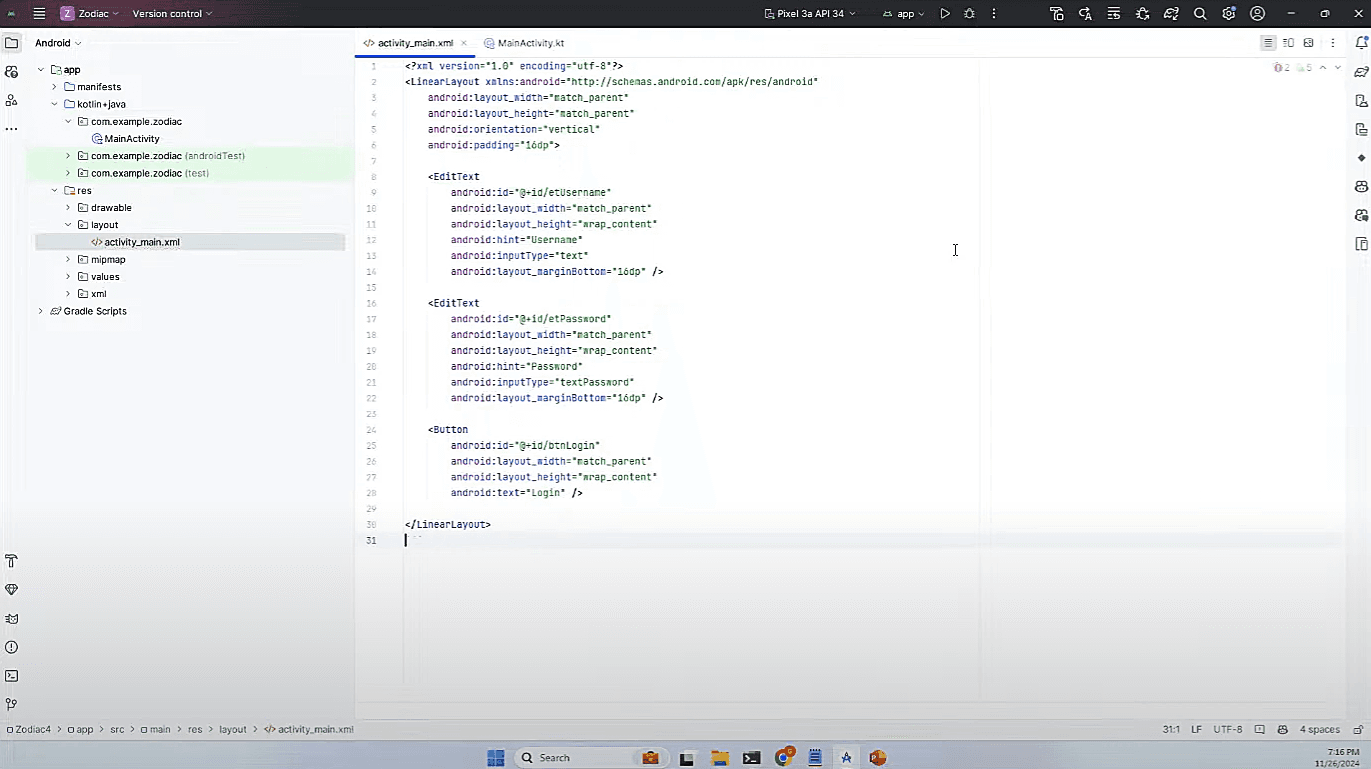
Once the code is generated, we can copy it into our Android app. First we will replace our activity_main.xml.
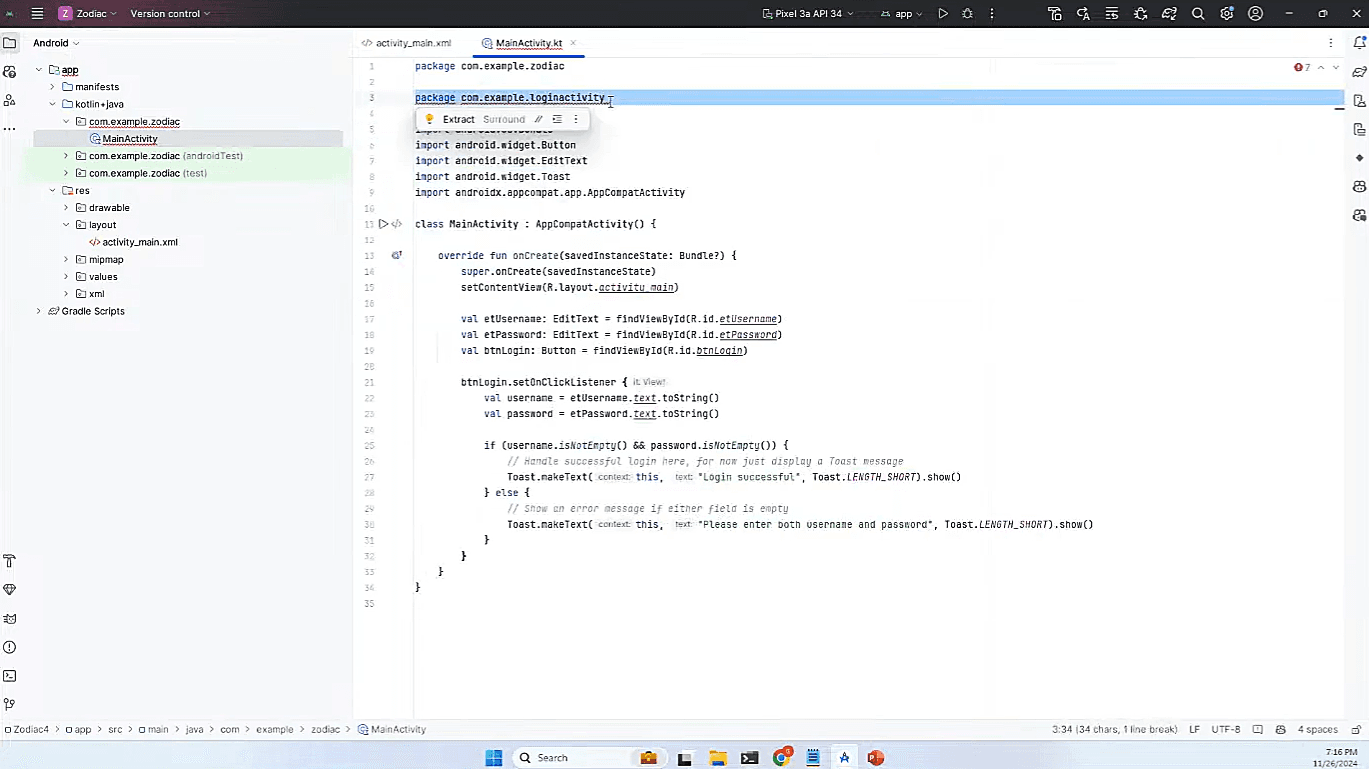
Then we can replace our MainActivity.kt. Take note, it won’t have any idea what your package name is, so you will probably have to replace it unless you get extremely lucky.
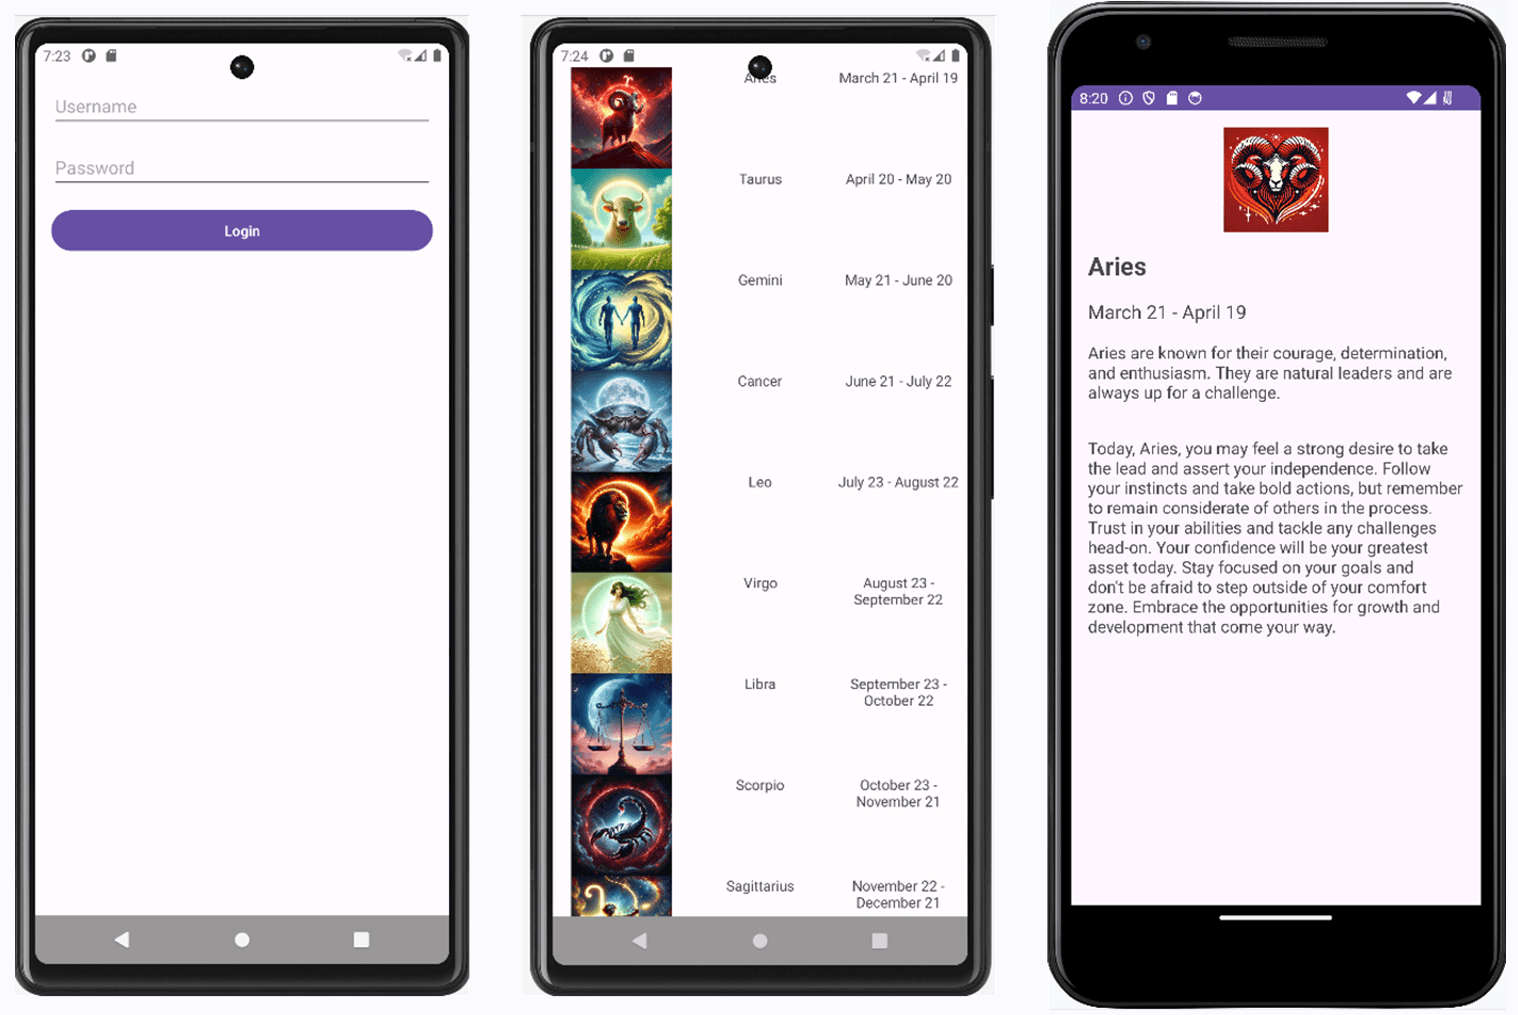
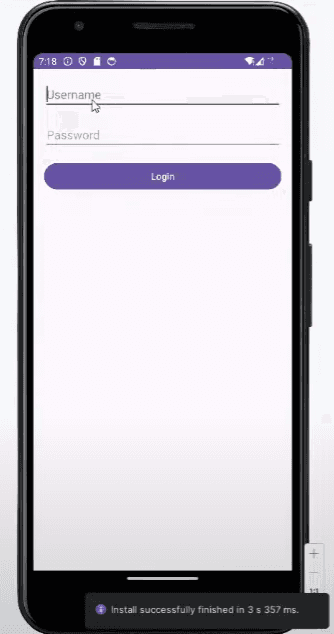
If all goes according to plan, if you run a test, you should see a brand new login screen:
Creating the Zodiac List Screen
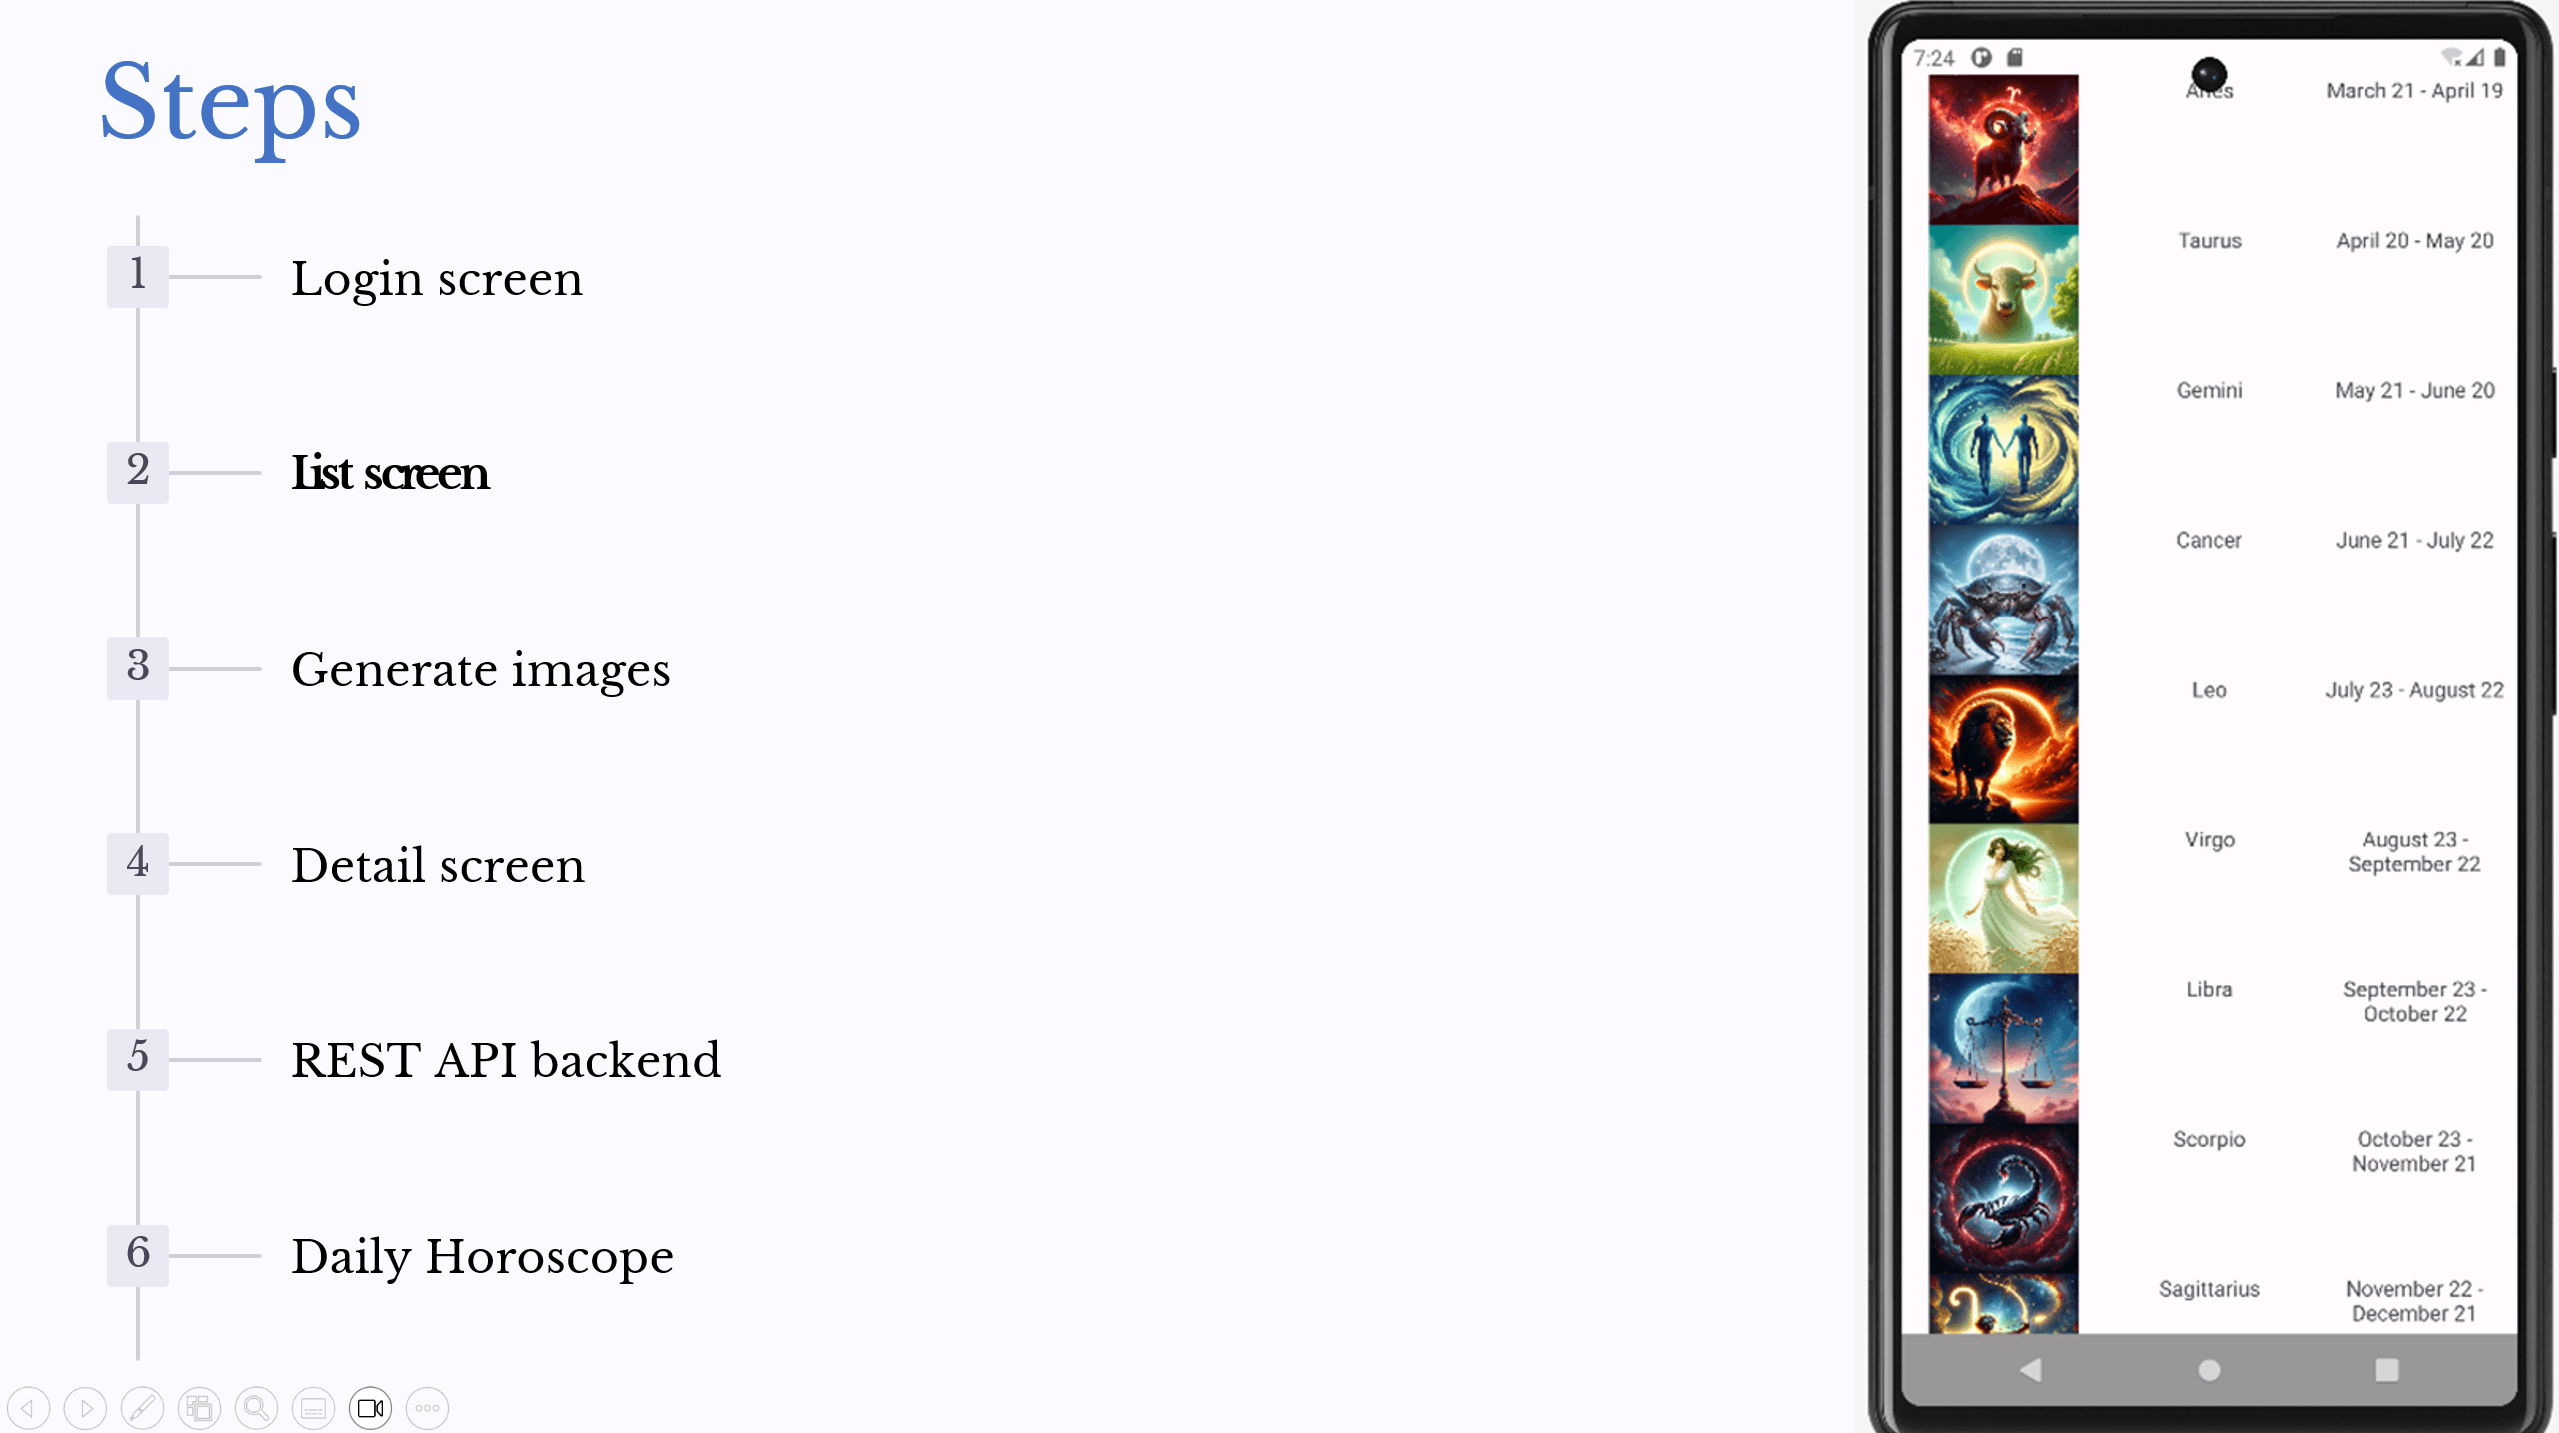
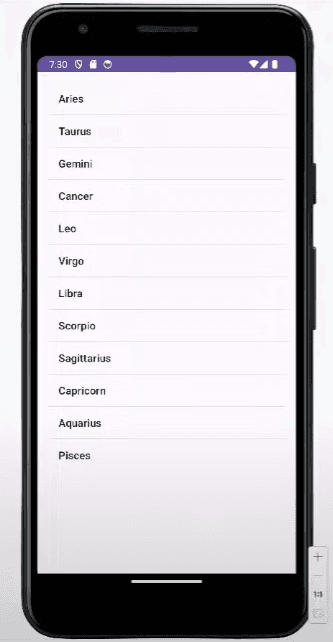
After the login screen, we’ll create a list screen to display all the zodiac signs. We’ll use a ListView for simplicity, though in a production app, you might opt for a RecyclerView for better performance. The implementation for the zodiac list screen can be found in the project repository. We want to create the activity first in AndroidStudio, and name it ZodiacListActivity.kt.
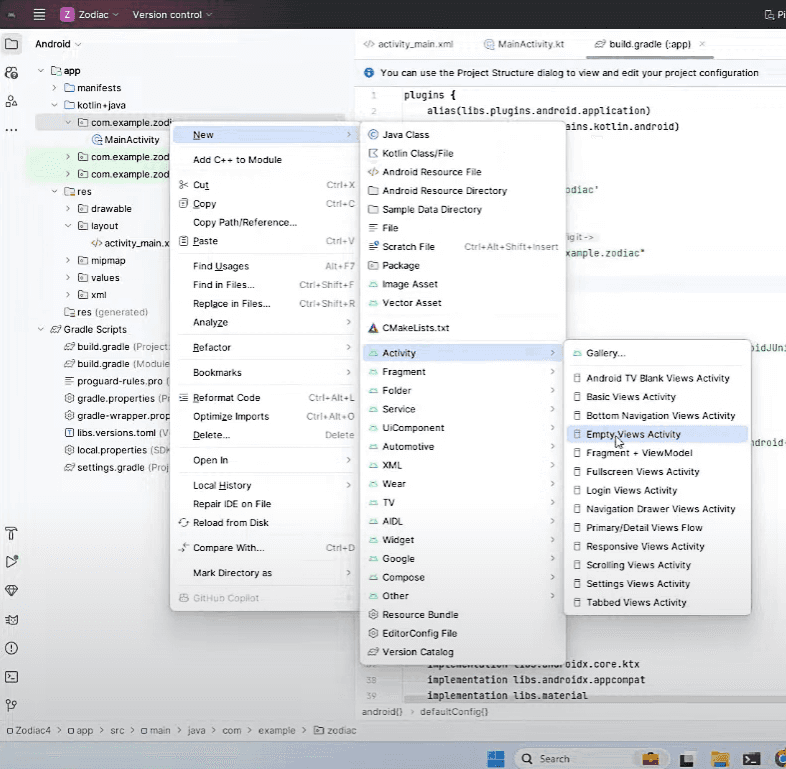
Then we can go back to the Canvas UI and input the following prompt:
generate a kotlin activity called ZodiacListActivity.kt which has a list of the signs of the zodiac in a table and also generate the layout file activity_zodiac_list.xml - make it a list view not a recyclerview
Paste the first file results into our new ZodiacListActivity.kt file while being mindful of the package naming like before.
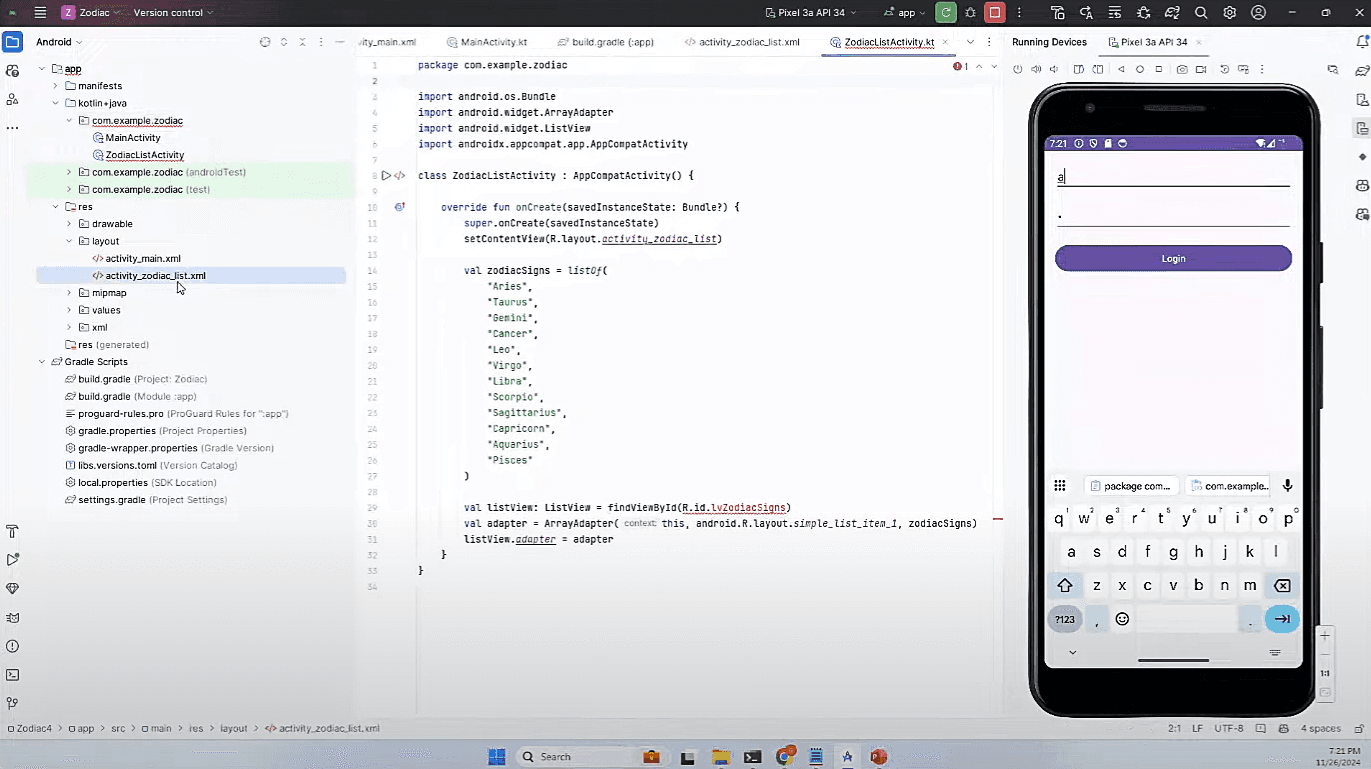
Then we have to do the same for our second file but into our activity_zodiac_list.xml file.
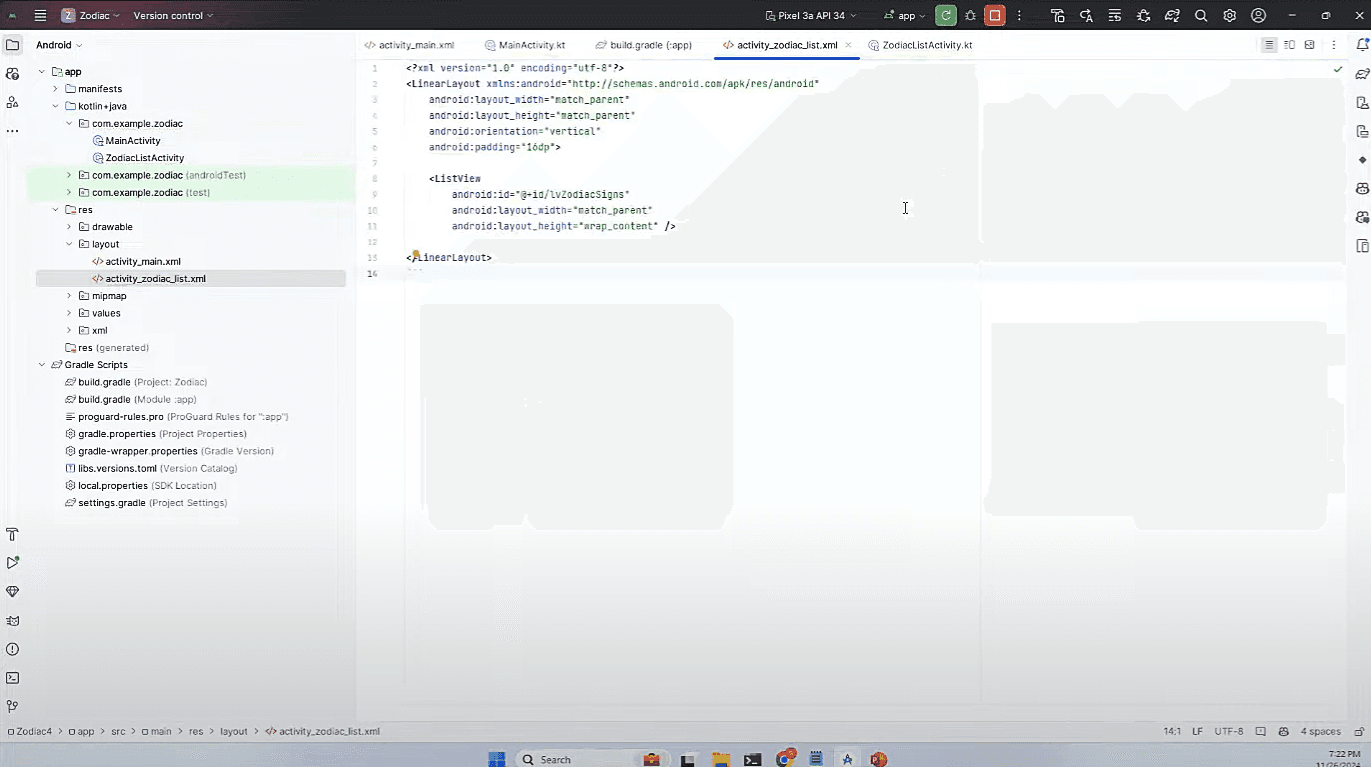
Next, we need to define a way to get from our MainActivity to our ZodiacListActivity. Use the following prompt in the Canvas chat to get that process started: Show me some code to get a button on MainActivity.kt to send a user to the ZodiacListActivity.kt screen don't use binding do it without binding
This prompt should cause Canvas to make an update to the MainActivity file, however, you should keep an eye to make sure it has the Intent included and that GPT4o didn’t add an extra button. You’ll also notice we are coaxing the LLMs response a little bit with that last line about binding.
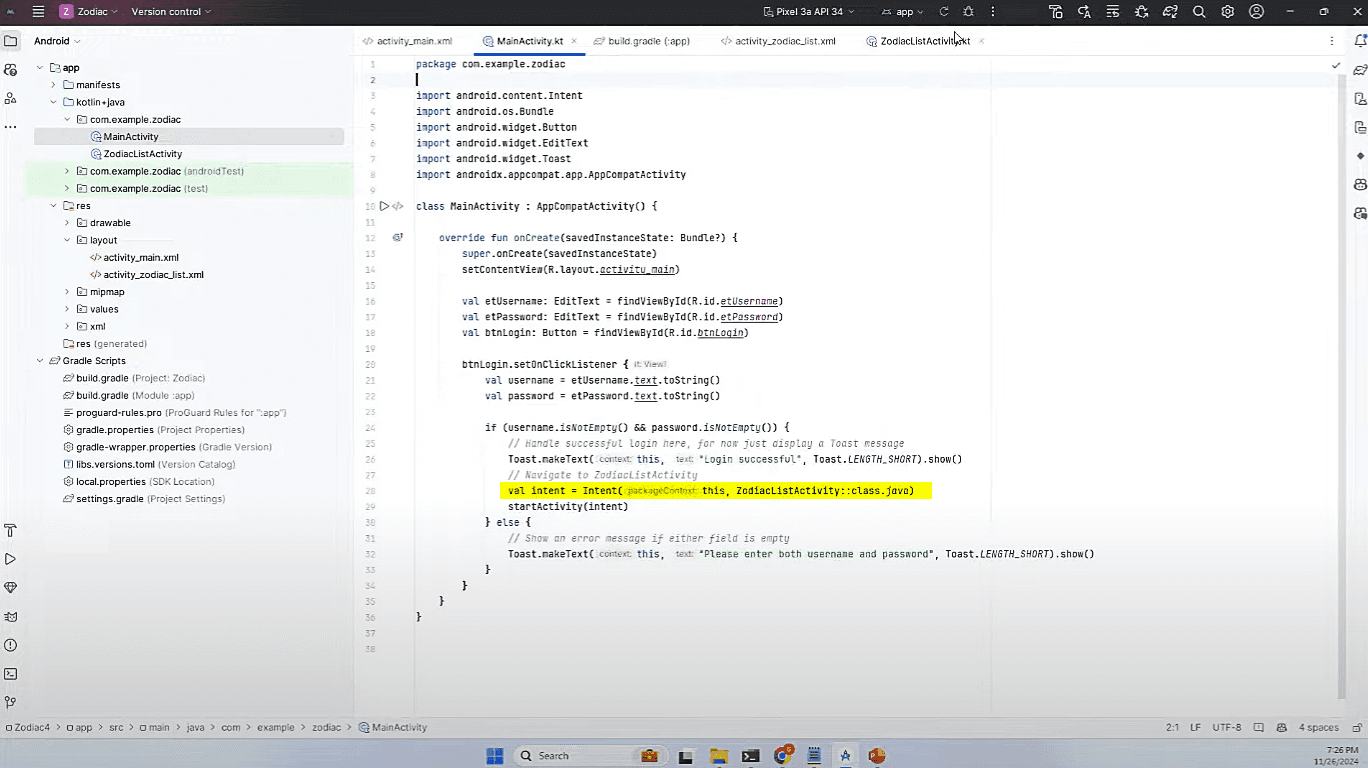
If everything worked out correctly, you should be able to get from the login screen to the list screen with our Zodiac Signs list.
Generating Zodiac Sign Images
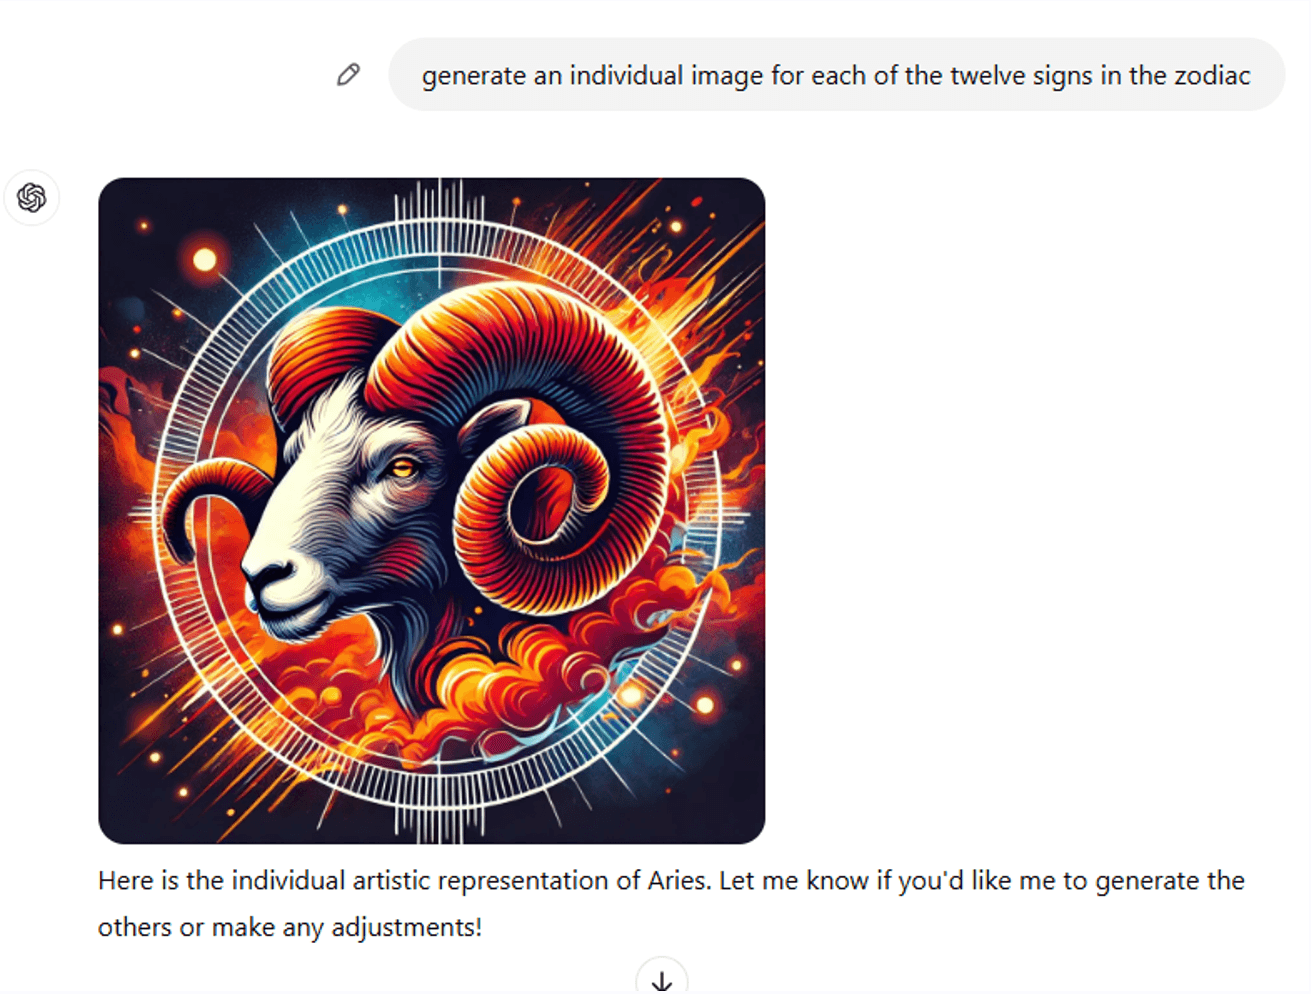
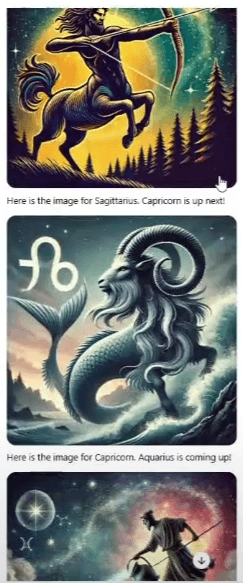
One of the unique features of our app will be AI-generated images for each zodiac sign. We’ll use DALL-E, an AI model capable of generating images from textual descriptions, to create these illustrations.
To generate these images, we’ll use prompts like “Generate an artistic representation of [Zodiac Sign]” for each of the 12 signs. The resulting images can then be saved and integrated into our app’s resources.
Creating the Detail Screen
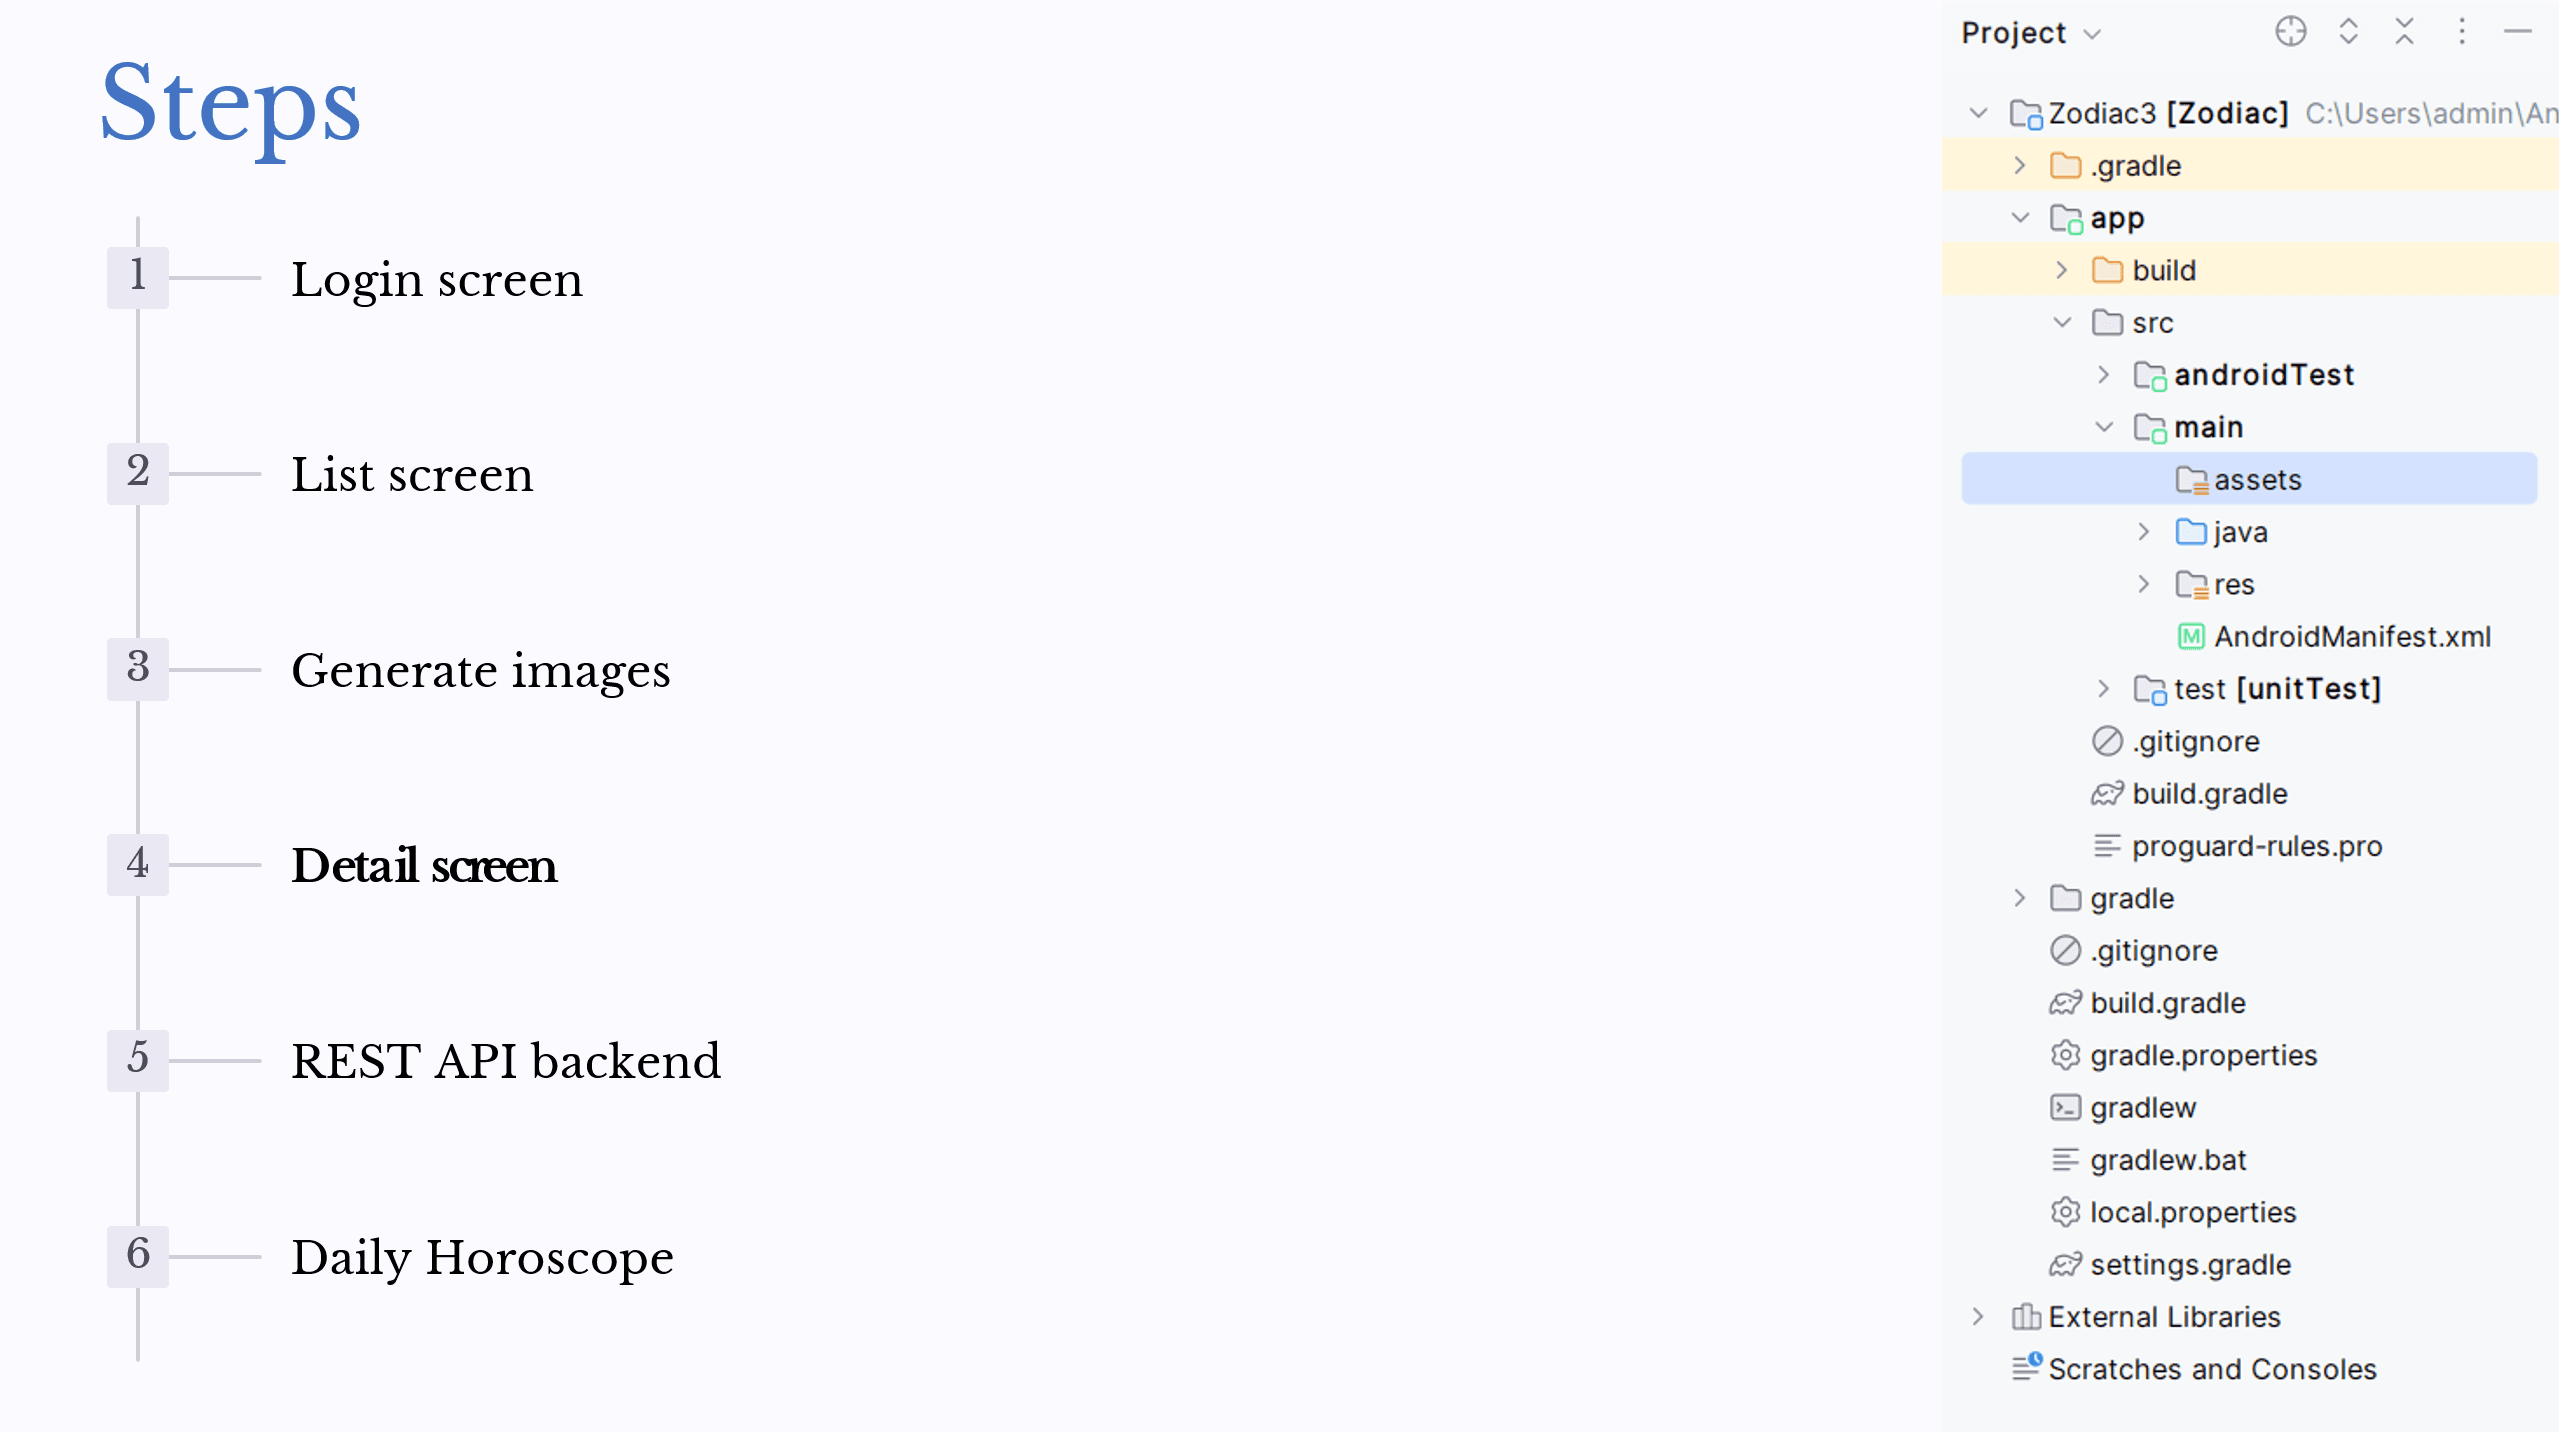
The detail screen will display information about the selected zodiac sign, including the AI-generated image. First, we’ll create an assetsfolder under app>build>main and load our generated images into it for later use. To do this, move to Project View, right-click on main, select New>Directory, and then select assets. Then in that folder create a file called zodiac_signs.json.
Back over in Canvas we will give it this prompt to make us that zodiac_signs.json file.
Generate a json file called zodiac_signs.json which has the name of the star sign, the month of the star sign and a description of what type of characteristics someone would the star sign would have
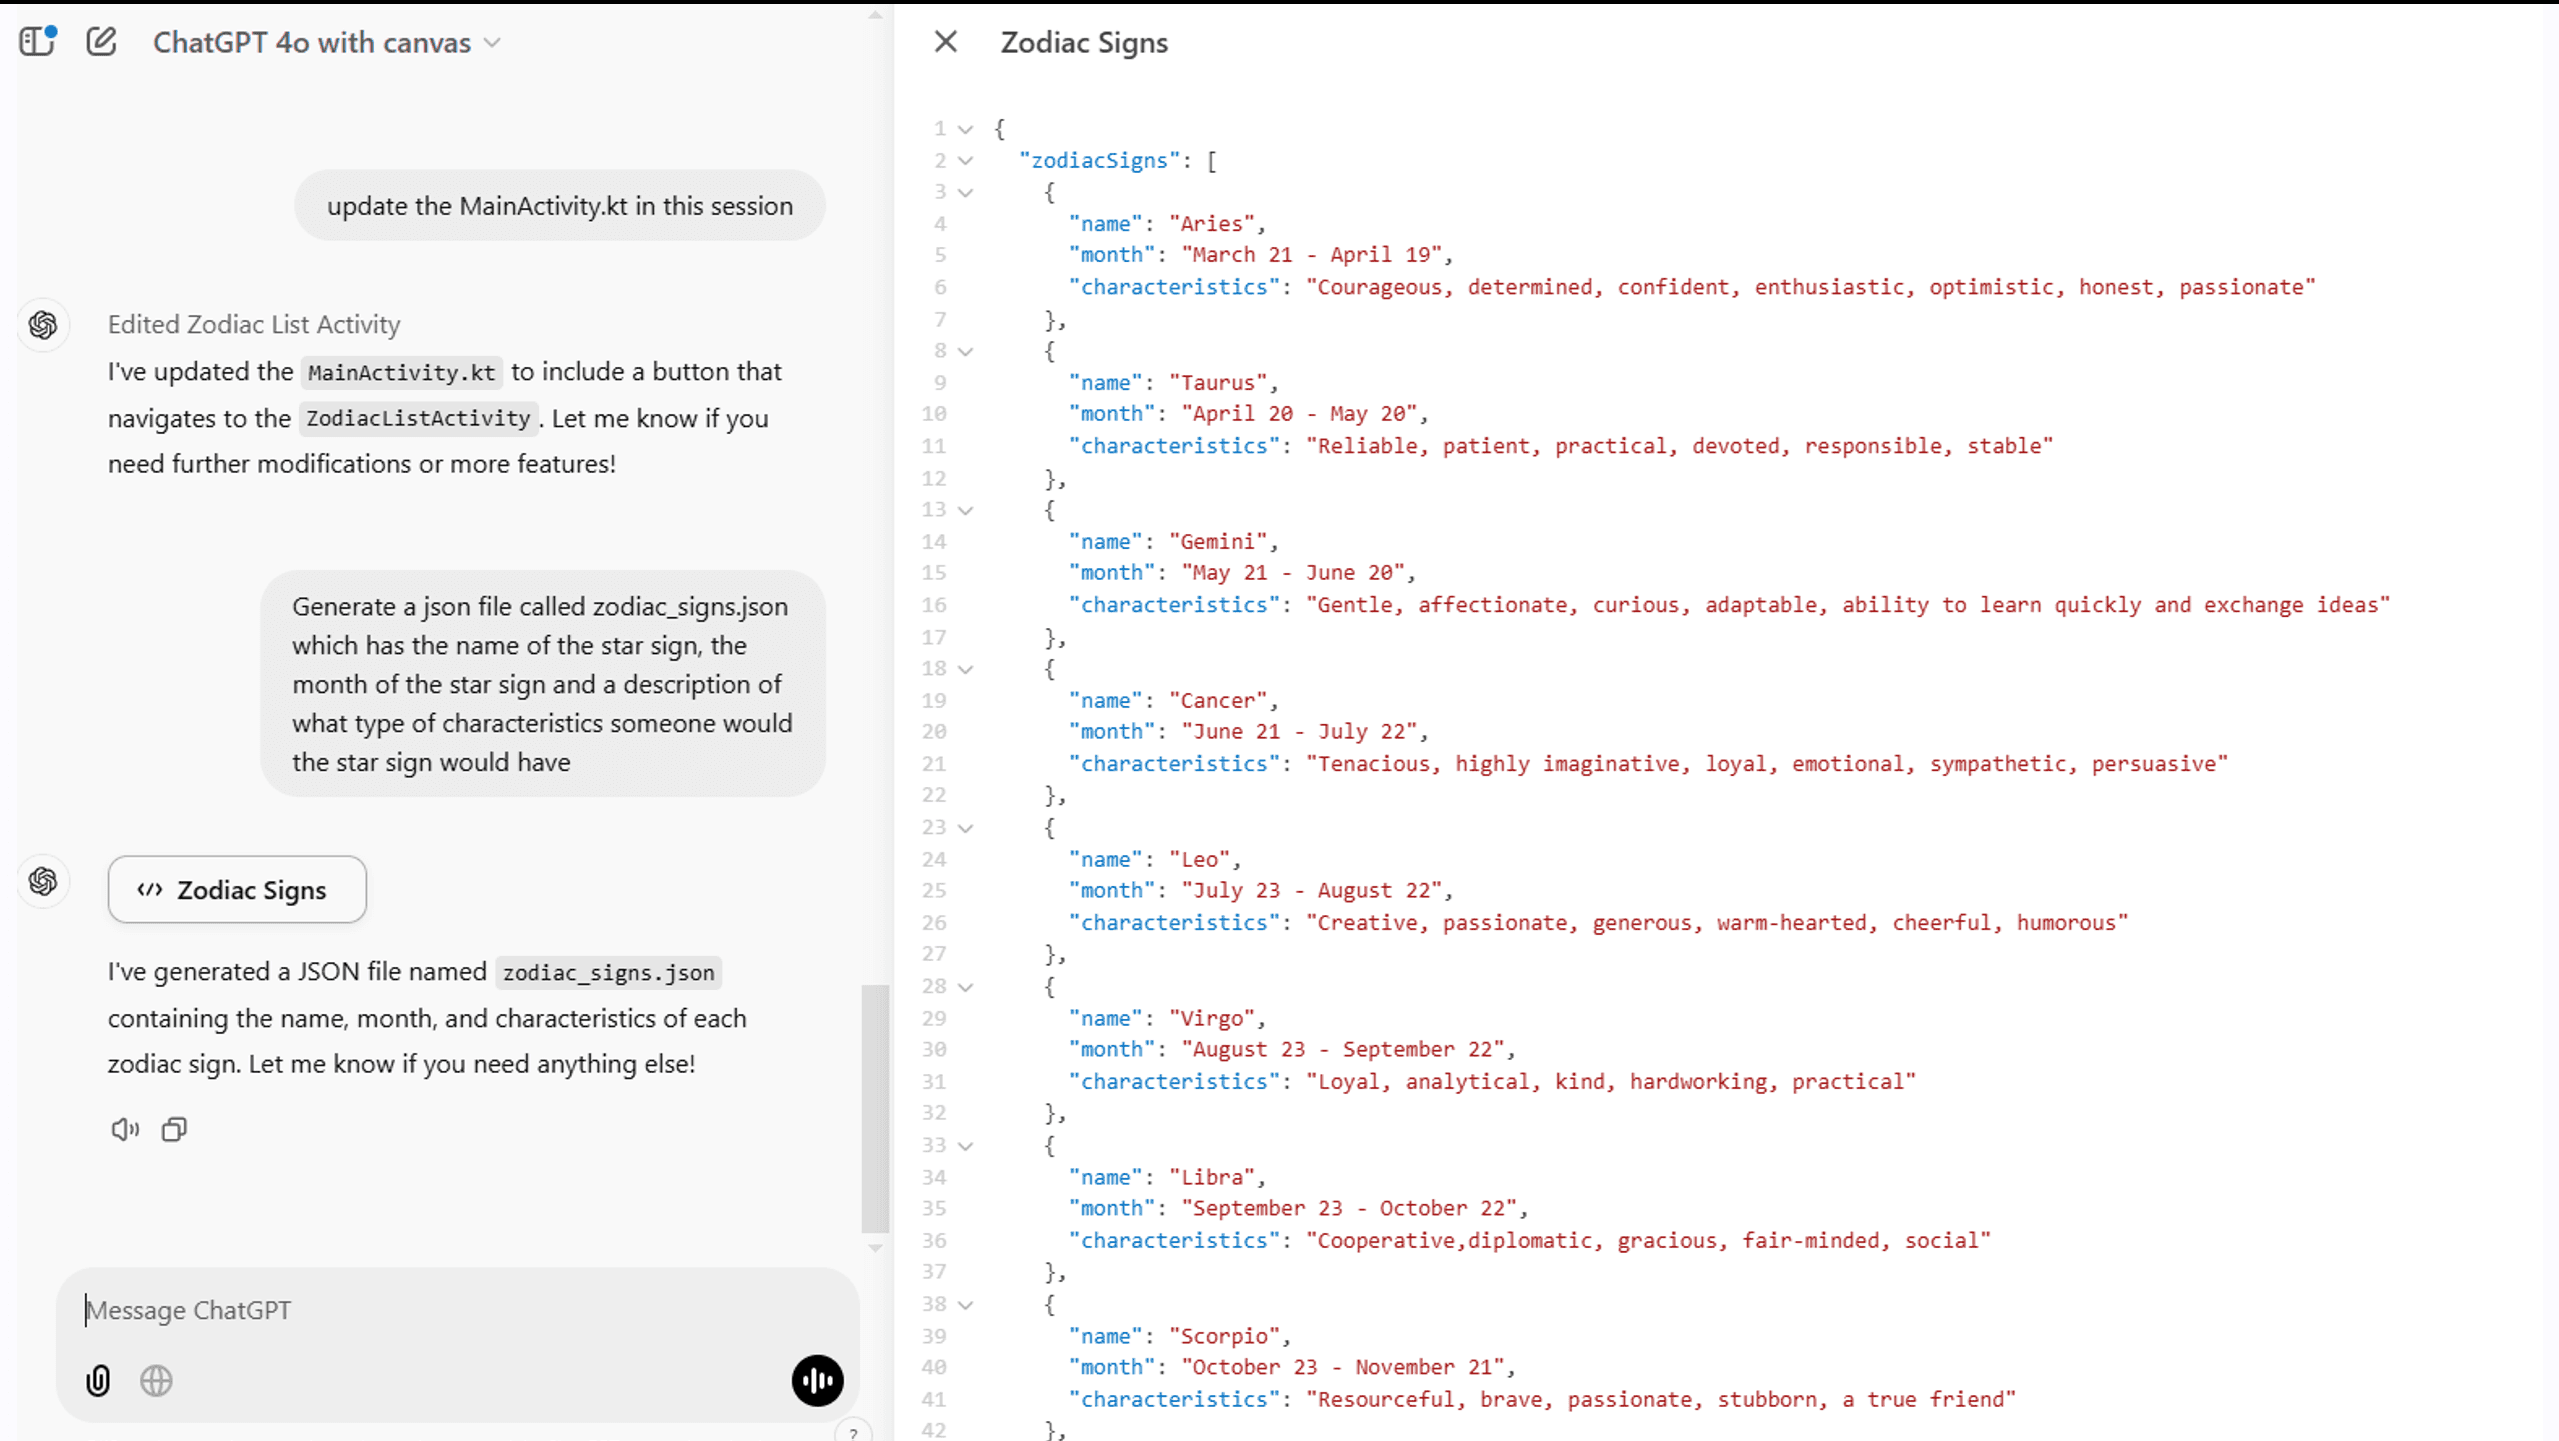
Right now, our ZodiacListAcitivty has Zodiac signs that are hardcoded, but we want it to read them from our JSON file. We’ll return to Canvas once more to put in the following prompt:
Update the ZodiacListActivity to read the names of the star signs from zodiac_signs.json
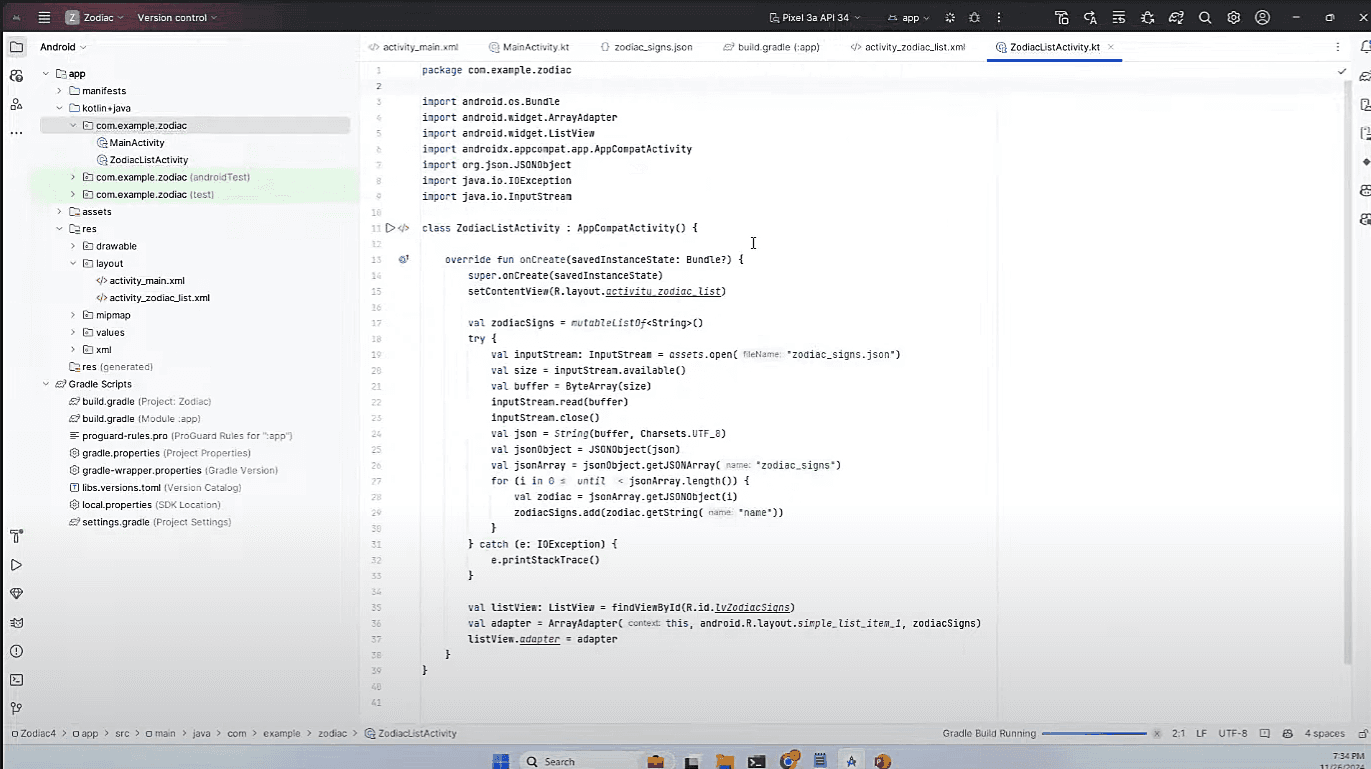
So that saved us a lot of boilerplate writing! You’ll want to do a test and see if the login still brings you to the list screen. If the code passes, then the list screen will look no different than before.
The next thing we need is an Activity for our detail screen. Right-click on the com.example.zodiac folder and select New>Activity>Empty Views Activity and name the file ZodiacDetailActivity.
Now we can input this next prompt into Canvas: Generate an android activity ZodiacDetailActivity in Kotlin and a corresponding xml layout that will display the information from the JSON file above for single star sign
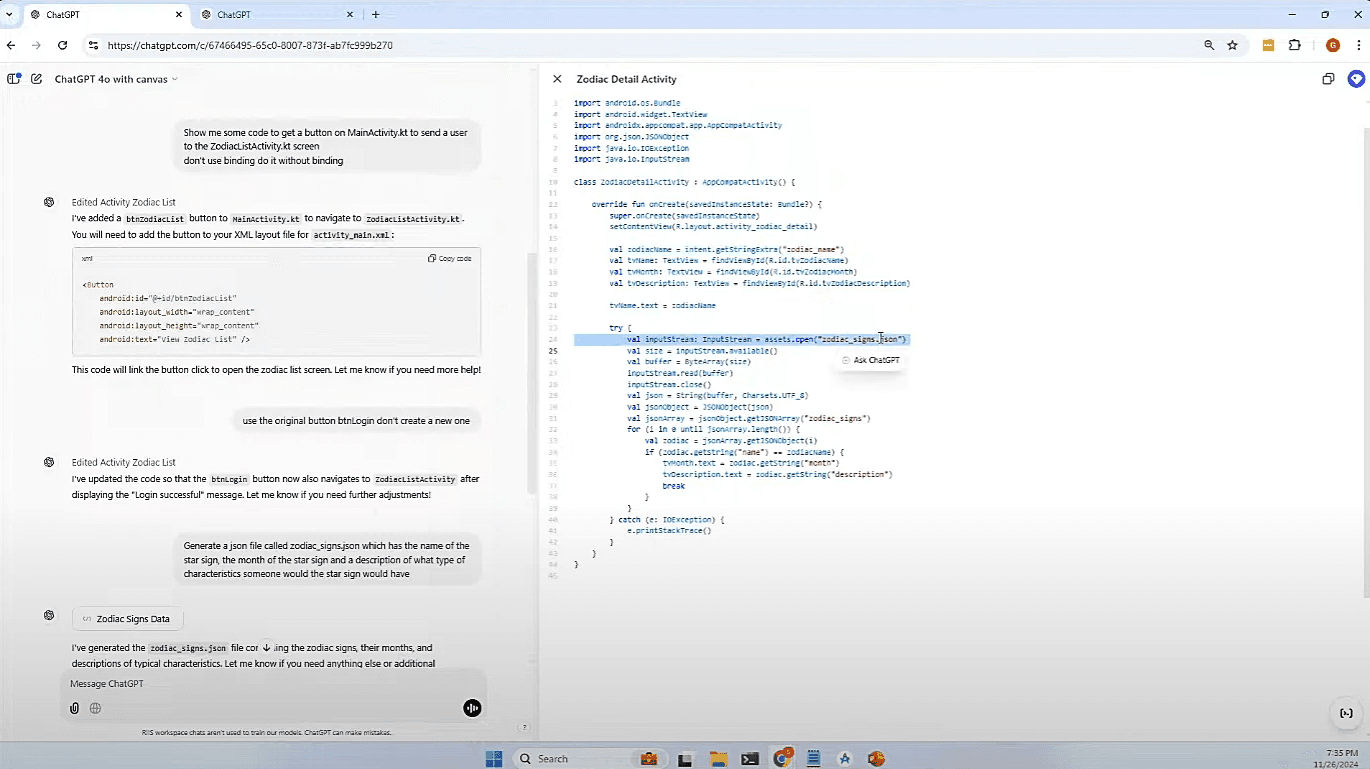
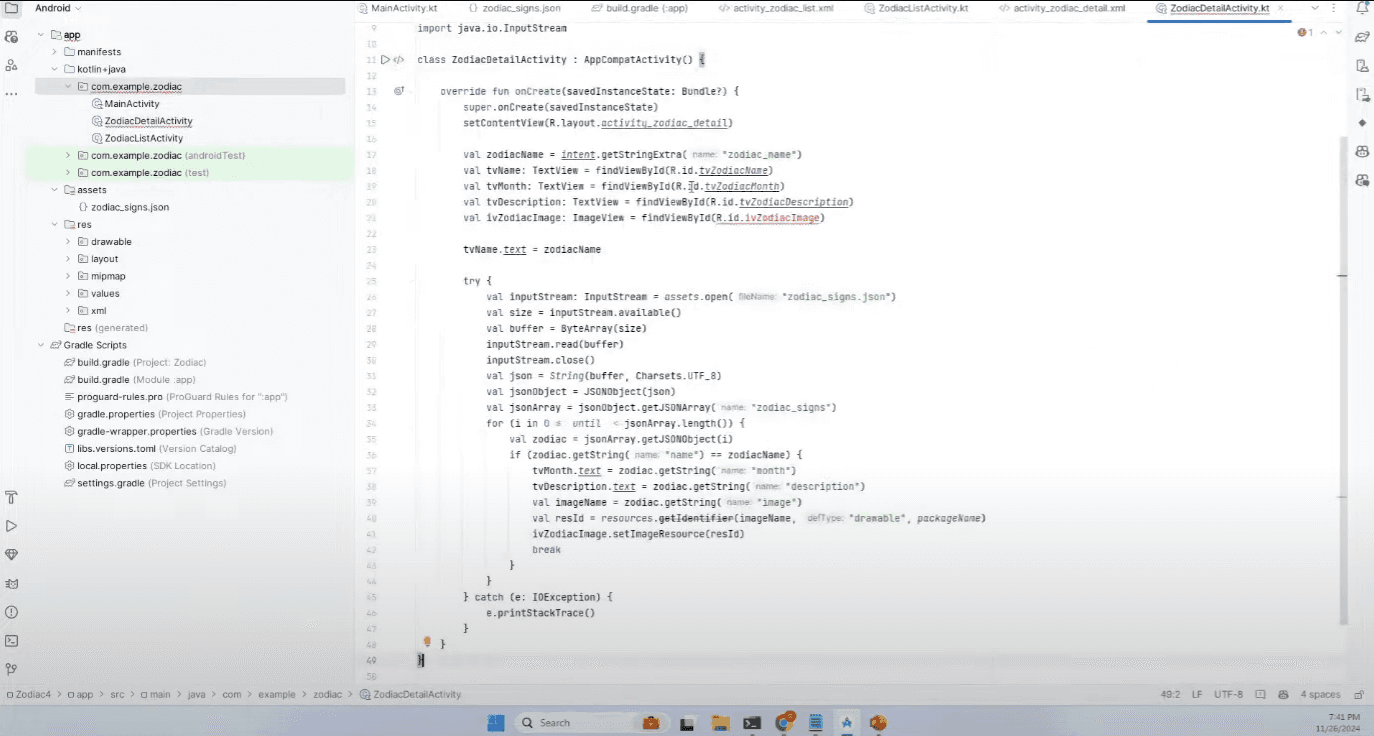
By now you should have noticed a rhythm to the flow here. For each feature, we have an Activity and Layout to match, and then we connect them to the existing views in the app. The resulting code here for our Activity file already expects us to put something on the intent.getStringExtra("zodiac_name"). Then within the try block it’s going to look at the assets folder to pull the corresponding image and data.
If you didn’t get the pair of files as expected, ask it for the layout file now. The layout should reflect the basic data structure from our zodiac_signs.json but in xml.
Making the Detail Screen Functional
Now we need make the zodiac list interactive, so that users will be greeted with their specific signs information. Put the following prompt into Canvas: Update ZodiacListActivity so that when you click on a star sign it fires the ZodiacDetailActivity and passes the name of the star sign as zodiac_name
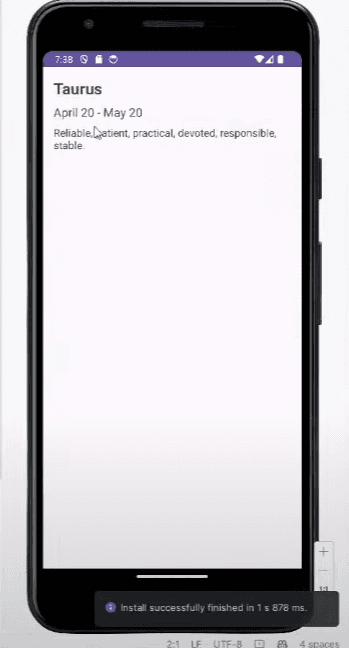
If the code comes back correctly modified, there should be a new listener on the list view that passes the zodiac name. Copy the output into the ZodiacListActivity file and then run a test. You should see this if you can successfully navigate to a sign’s detail view:
Adding our DALL-E Images to the Detail View
To get our images into our detail view, we need to update the zodiac_signs.json file. Then we are back to Canvas for one more prompt: update the zodiac_signs.json so it has a field for an image for each sign which will be aries, taurus etc.
All this is going to do is add an image field to our JSON.

BTW, since we didn’t mention it before, you should probably name your images after the corresponding zodiac signs in all lowercase, since that is the style convention GPT is apt to follow.
To display the images we need to modify our detail activity one more time. Head over to Canvas again and put in the following prompt: display the zodiac image at the start of the ZodiacDetailActivity, the image name is in the zodiac_signs.json and the image is in the drawable folder
As before, copy the code into the ZodiacDetailActivity file.
And you guessed it, now we do the same for the corresponding layout file.
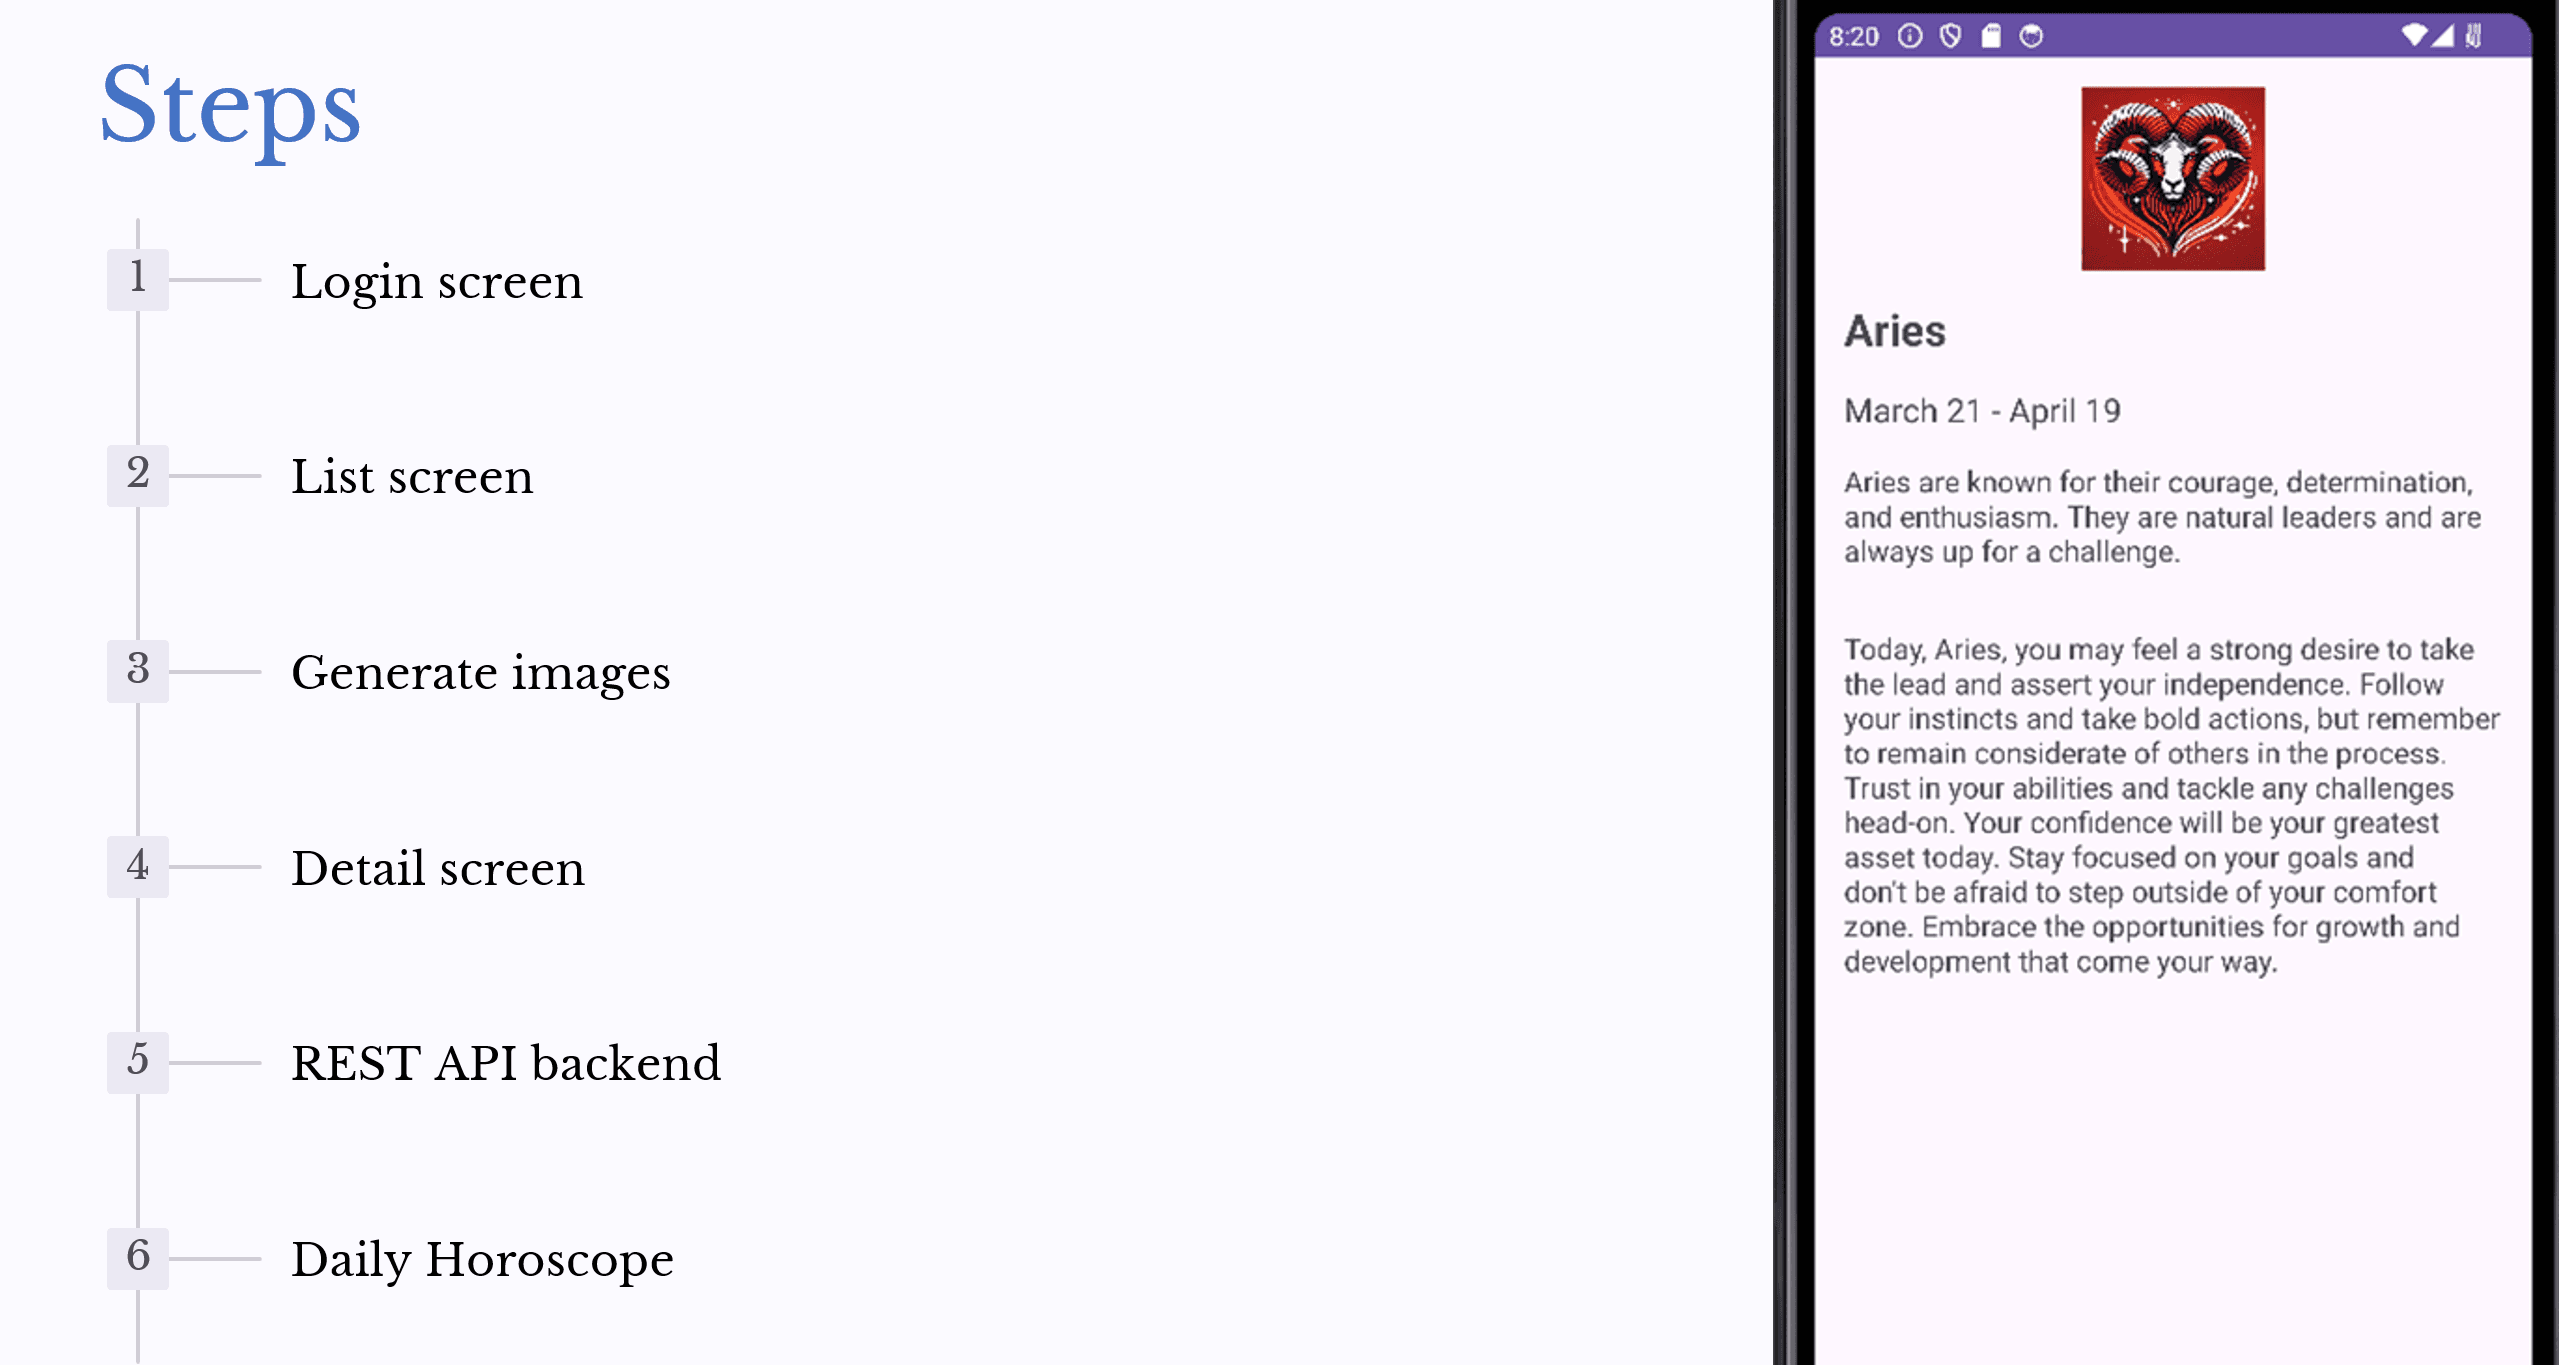
Make sure the new layout produces a new <ImageView /> component, and you should be good to copy and paste that at the top of your activity_zodiac_detail file. This is what the screen should look like, but wait, it’s way too big.
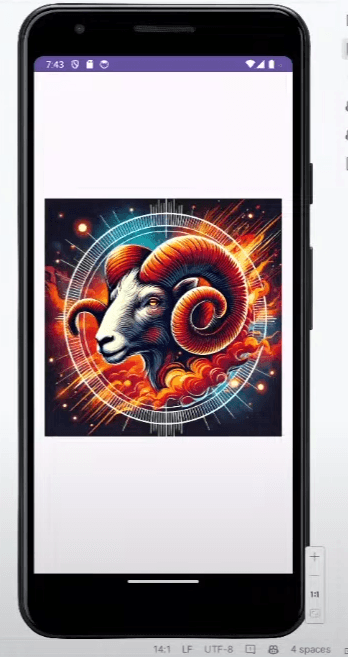
Ask Canvas to shrink the image so it can display properly, which should add strict width and height parameters to your <ImageView /> component.
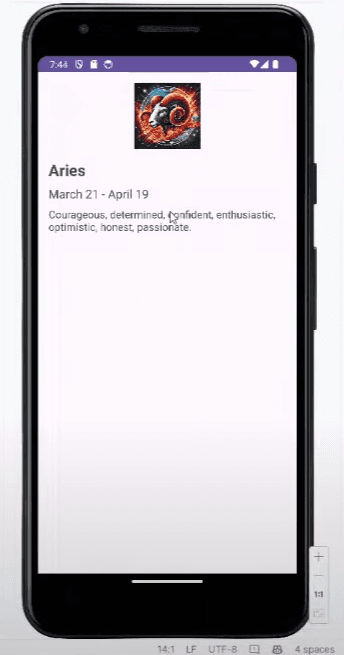
Sweet! Now our detail view is complete.
Conclusion
Congrats! If you’ve made it this far, you’ve learned how to harness the power of ChatGPT Canvas to create a fully functional Android-based Horoscope app without writing a single line of code themselves. You’ve accomplished the creation of a secure login screen, a list view of zodiac signs, and detailed information pages for each sign, complete with AI-generated illustrations. In Part 2, we will cover setting up our API backend to make our daily horoscopes update for the user and set up a small server to support the app’s functionality. See you soon!
