
In the world of drones and Uncrewed Aerial Vehicles (UAVs), QGroundControl (QGC) stands as a notable open-source cross-platform ground control system. In one of his monthly meetup presentations, Godfrey Nolan, President of RIIS LLC, offered a detailed look into the intricacies of customizing this versatile platform. Here’s a summary of the crucial insights shared.
What is QGroundControl?
QGroundControl is an open-source platform mainly used for MAVLink drones. If you’re operating a drone compatible with MAVLink, chances are you’re employing QGC as your ground control station. With a wide reach and popularity, it offers flexibility and adaptability. One might wonder what it would take to incorporate their brand logo, or revamp the flight screen or toolbar. This platform facilitates such customizations.

QGroundControl is adaptable across Android, Linux, and Windows. Though there are mentions of iOS compatibility, its current viability remains uncertain. The underlying foundation of QGC is the Qt platform. Interestingly, the QT platform is owned by BlackBerry. QGC runs on either of the open source flight control firmwares, PX4 or ArduPilot for use as the ground control station for quadcopters, rovers, tractors, VTOL planes, etc.
QML (akin to JavaScript) is used for most of QGC’s functionalities. However, C++ is employed for significant firmware modifications. QGC primarily serves MAVLink drones, but its versatility extends to other UAVs, from quadcopters to VTOL planes and rovers.
Although it’s possible to create one’s own white-label ground control station, for those without extensive programming resources, the default choice remains QGC.
Things to Know Before Customizing QGroundControl
QGC hosts a few aesthetic customizations that can be used for white label branding. For example, you can add brand-specific elements, such as logos, create a custom toolbar, toolbar indicators, and UI navigation, and modify the Fly View overlay.
A significant challenge with QGC is the configuration; setting it up isn’t always straightforward. Some users, like those employing the Herelink Android tablet, might find the modification process daunting.
Blue UAS and QGroundControl
Currently, one of the prevalent applications of QGroundControl is with Blue UAS drones. If you’re not familiar with Blue UAS, the Defense Innovation Unit (DIU) compiles a list of National Defense Authorization Act (NDAA) compliant drones for use by the U.S. Department of Defense (DoD). Excluding popular names like Parrot and Skydio, most drones on the Blue UAS list, such as Teal, Inspired Flight, and Ascent, likely use QGC or its variants.
Getting Started
For those eager to embark on the customization journey, here’s a quick setup guide (Windows & Android):
Install Visual Studio 2019
Community Edition & Desktop development with C++

Install QT Creator
Custom Installation 5.15.2
The QGroundControl documentation recommends only using this version to reduce bugs and increase stability
M1 Macs may experience this as the architecture is most likely not supported in this older version.

Install Android Studio
Install Android command line tools (latest)
Install CMake
Add Tablet Emulator
Some Quick Tips
Install Visual Studio 2019: Opt for the community edition. The primary goal is to access the C++ compiler.
Qt Creator: If QGC customizations form part of your business, consider purchasing Qt’s monthly license. Ensure you use the 5.15.2 version – it’s the most compatible with QGC.
Avoid the drag-and-drop Qt designer, sticking instead to the IDE for modifications.
Android Studio: Those targeting Android platforms should install Android Studio. Important elements include command line tools, CMake, and an emulator, if necessary
Caution While installing Visual Studio 2019 be wary of overloading your system with unnecessary features can be counterproductive. For instance, while installing Visual Studio, disable features like Live Share and Intellicode.
Downloading QGC
Installing the Firmware

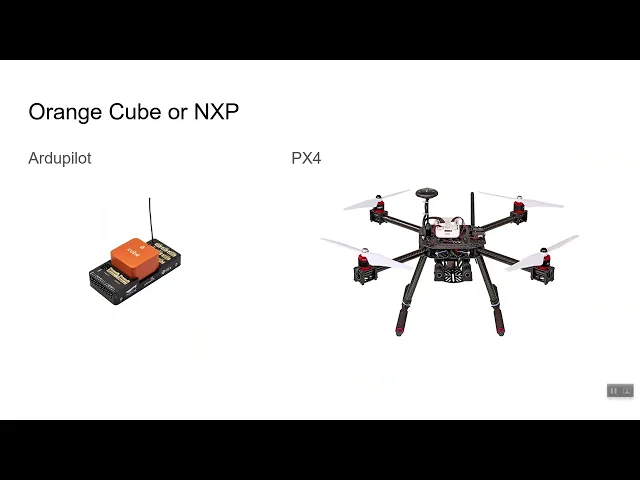
For demonstration purposes, RIIS will be using the ArduPilot Orange Cube, but you could just as easily utilize flight controllers from the PX4 ecosystem like those produced by NXP, Holybro, etc.
Install the firmware in QGC and make a custom project
Clean previous build
Change custom-example to custom
Renaming the custom-example folder will allow you to keep your changes intact when doing future updates.
It’s possible to even make your branding changes directly in the new custom folder with simple file modifications.
‘Python updateqrc.py’
Build

Customization!!!
The Basics
The two main files you want to look at are qgcontrol.exclusion and custom.qrc.
qgcontrol.exclusion allows you to exclude whatever QML files you’d like from the source code
custom.qrc you are telling updateqrc.py what file you are going to replace.
In simple terms, the two-step process is that you use qgcontrol.exclusion to tell QGC to ignore the original file, and then you use custom.qrc to tell it which file to replace it with.
If you are making significant changes beyond branding to how QGroundControl actually works, your file is making changes to the source code. That means on the next update, you are going to want to merge your changes.
A Deeper Dive into the custom-example File
Rename the cusom-example to custom
Clean build
cd custom
python updateqrc.py
Build and run
If you’ve done everything correctly, the console will display a message excluding the fly view custom layer, indicating that you’re on the right track.

Another sign that you are on the right track is the theme colors have changed from yellow to green.

If you go into the QGroundControl IDE, you will see you now have a custom folder that wasn’t there before and under custom/resources/custom.qrc you will see a list of custom images, widgets, etc.

You can also look at the custom.qrc file directly if you want to learn how to replace images or actual QML files themselves.

Customizing the Toolbar
Here’s a relatively simple way to change the default Toolbar:
Exclude the existing Toolbar in qgroundcontrol.qrc
<file alias=”QGroundControl/Controls/MainToolBar.qml”>src/ui/MainToolBar.qml</file>
Add the new Toolbar in custom.qrc
Create CustomMainToolbar.qm in custom/res folder
In this example, we are simply going to be moving the main status indicator to parent.right.

You’ll notice we are following the same pattern as before, excluding the original file and replacing it with our own in custom.qrc. Now we can move on to the build.
Clean build
cd custom
Run python updateqrc.py
build and run

Customizing the Fly View
By now, you should understand the basic rhythm of the process. Changing the Fly View is similar, with a few minor changes.
Clean build
cd custom
Add FlyViewWidgetLayer.qml to qgroundcontrol.exclusion
Add CustomFlyViewWidgetLayer.qml to custom qrc
Run python updateqrc.py
Build and run
Below, you can see the changes we made: removing anchors.left and adding anchors.right set to parent.right.

Here are the results!
Before

After

As you can see, once you understand the basic principles and get past the initial setup, customizing QGroundControl isn’t too complicated. If all you are doing is making a few aesthetic or layout changes, branding QGroundControl is within your grasp. If you are looking to make more significant changes, be sure to reach out to us by filling out the contact form with your project goals.
