Jun 17, 2024
By now ChatGPT needs no introduction, but most people are only familiar with the front end ‘chat’ interface. In the first edition of the OpenAI Application Explorers meetup, Godfrey Nolan, President, RIIS LLC., demonstrated how with a little extra effort you can utilize the ChatGPT API to create whole AI-driven applications. In this tutorial, we are going to show you how to build a classic Choose Your Own Adventure game from scratch using ChatGPT and a little Python. If you are not familiar with programming, don’t fret, this tutorial is meant for beginners, and if you ever feel lost, you can always ask ChatGPT for clarity. You can follow along with the video from the Meetup or read the tutorial below.
Part 1: Calling a Chat Completion and Image Creation with Python
Creating an OpenAI account
If you haven’t set one up already, you should create an account with OpenAI. Navigate to platform.openai.com/playground/chat and you will see a very different interface for ChatGPT than what you are used to. This is the playground and it is an awesome test environment where you can experiment with OpenAI's language models, including GPT-4o. It provides a user-friendly interface to test and fine-tune your prompts, see how different models respond, and explore various settings and parameters.
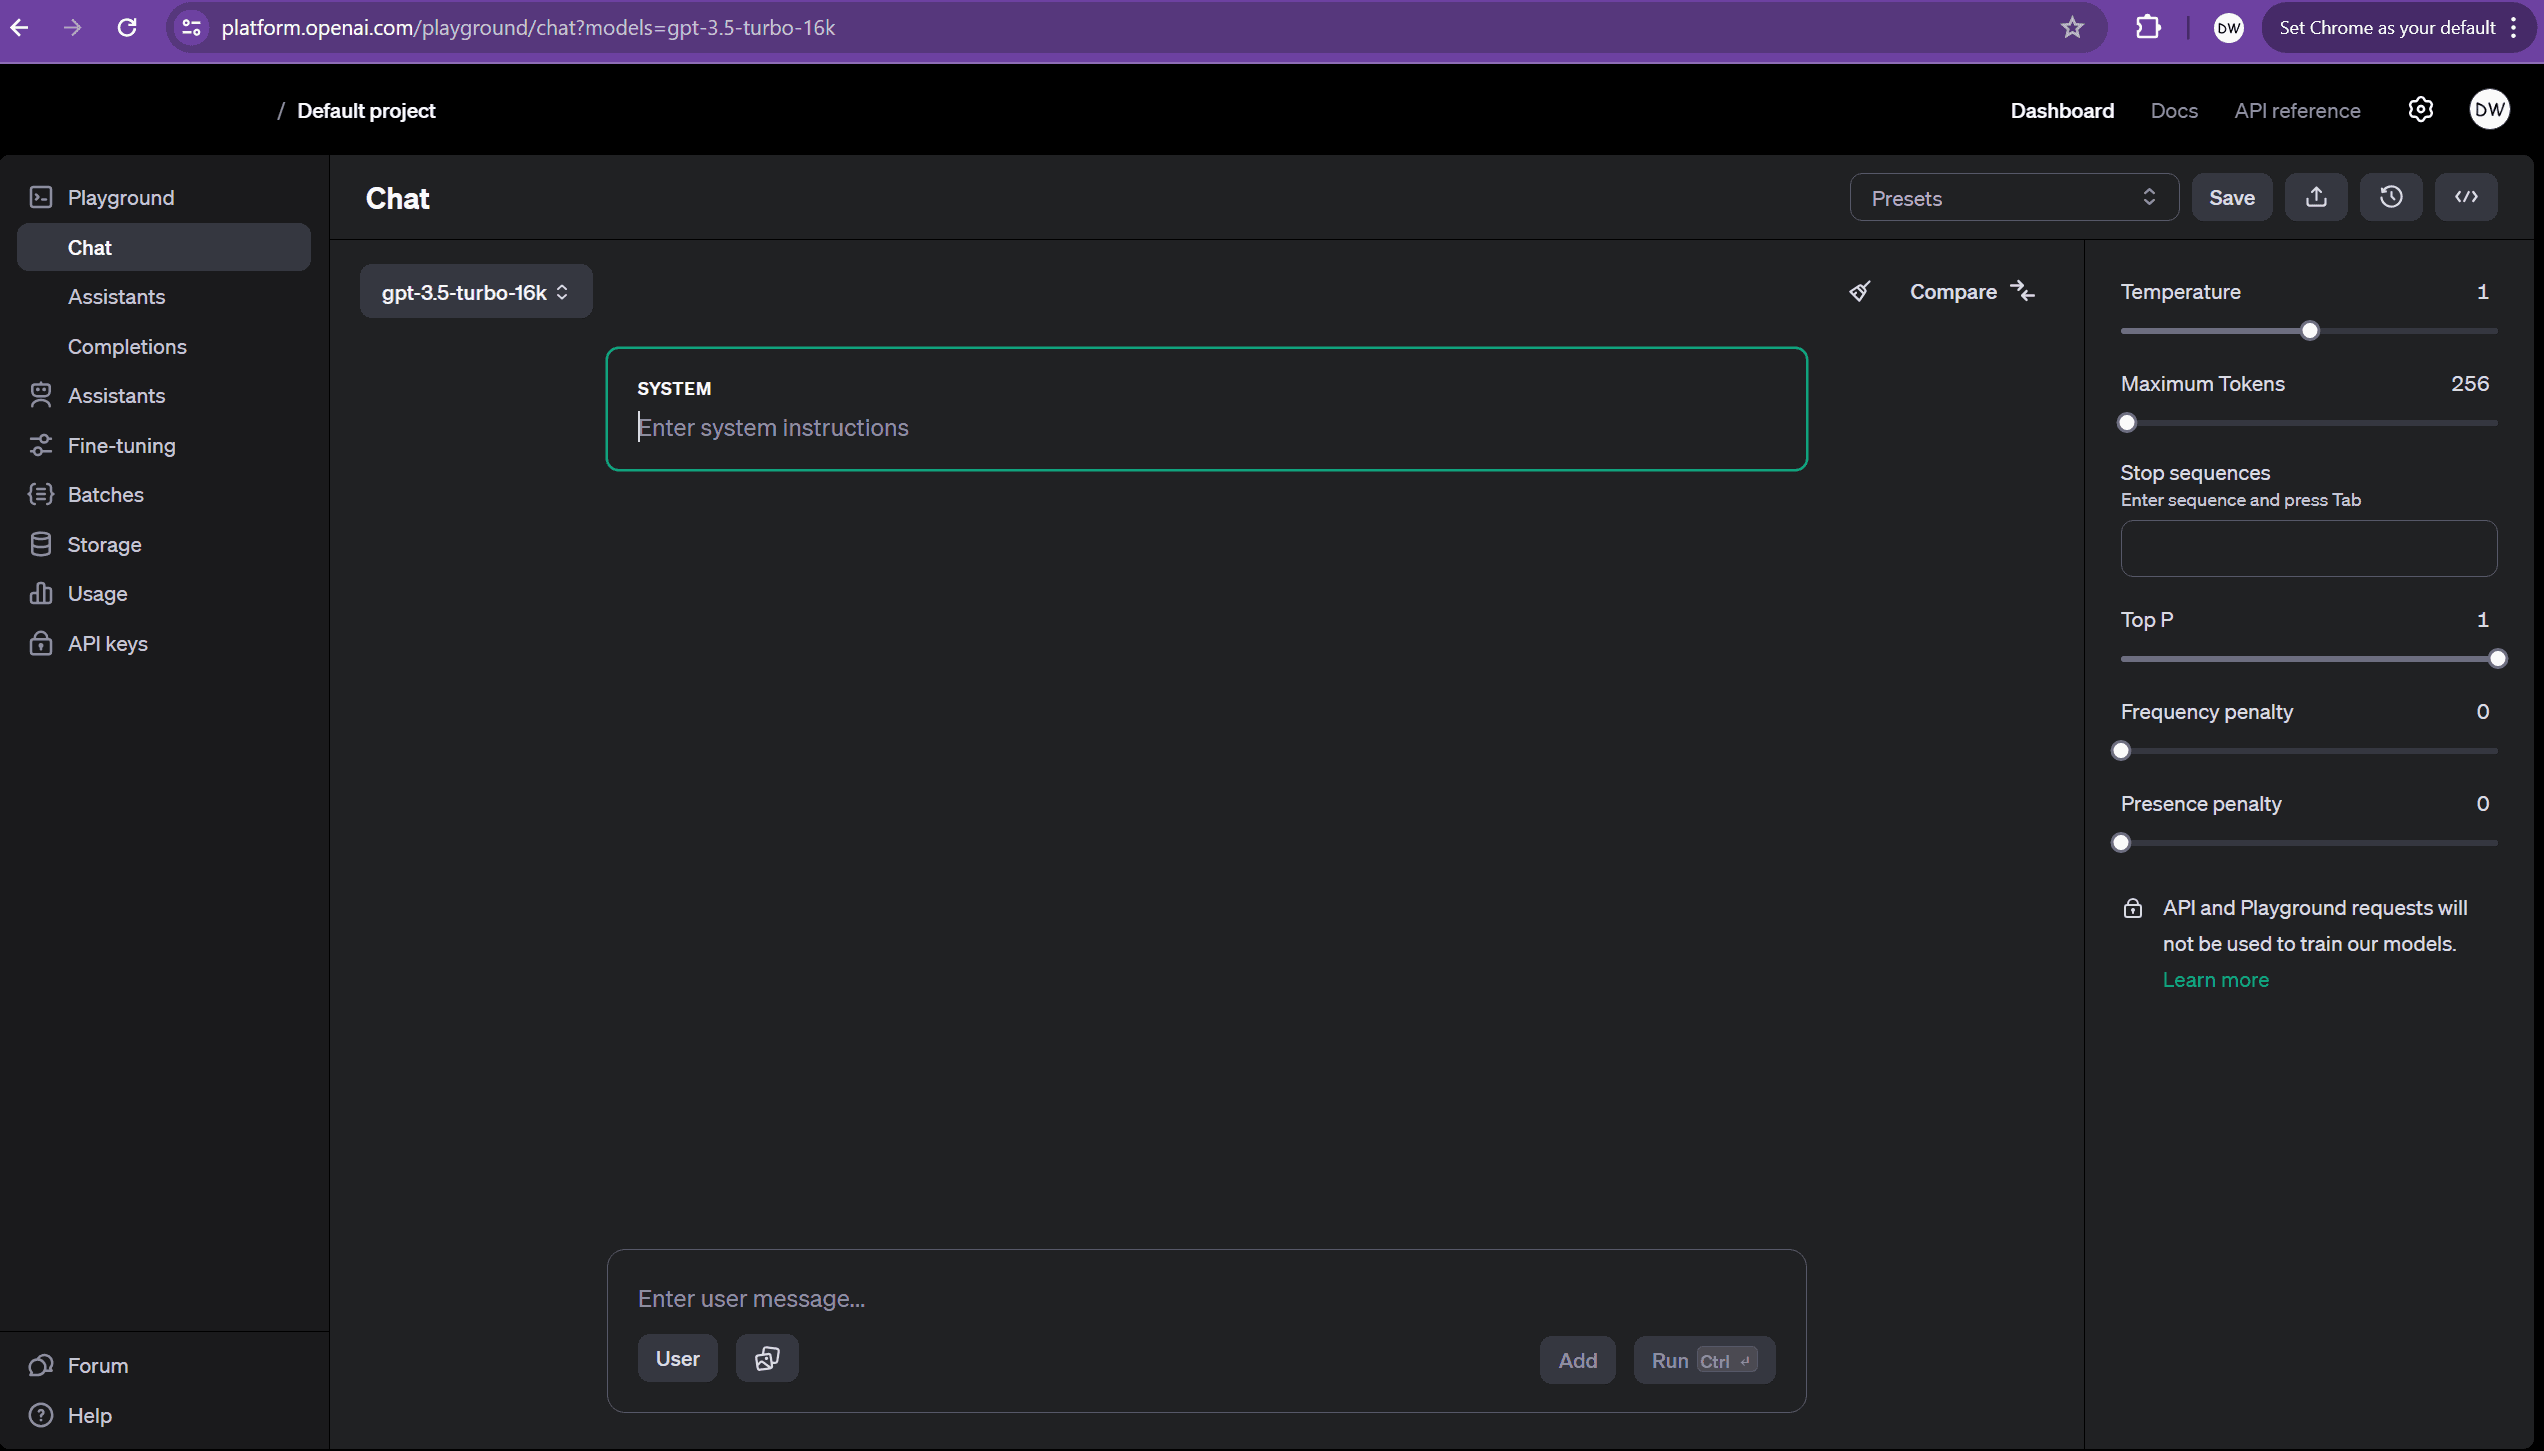
You will notice the green system box at the top. Here, you can provide system-level instructions to guide the behavior of the model. This helps in setting the context and tone for the responses. For example, you can instruct the model to act as a helpful assistant or to follow specific conversational rules. If you’ve created a custom GPT before, this is a similar but more direct way to set the boundaries for how the app should behave.
You will also notice some additional controls on the side. These all help you dial in the variability of ChatGPTs response, but for now, don’t worry about it.
Let’s start playing around. Down at the bottom, type in “What is a choose your own adventure game?” into the Enter user message text box. Hit CTRL or CMD Enter to submit your prompt.
In the top right corner, you will see a </> icon. Click on that and you will see the code behind your prompt submission. It’s just an extremely simple API call.
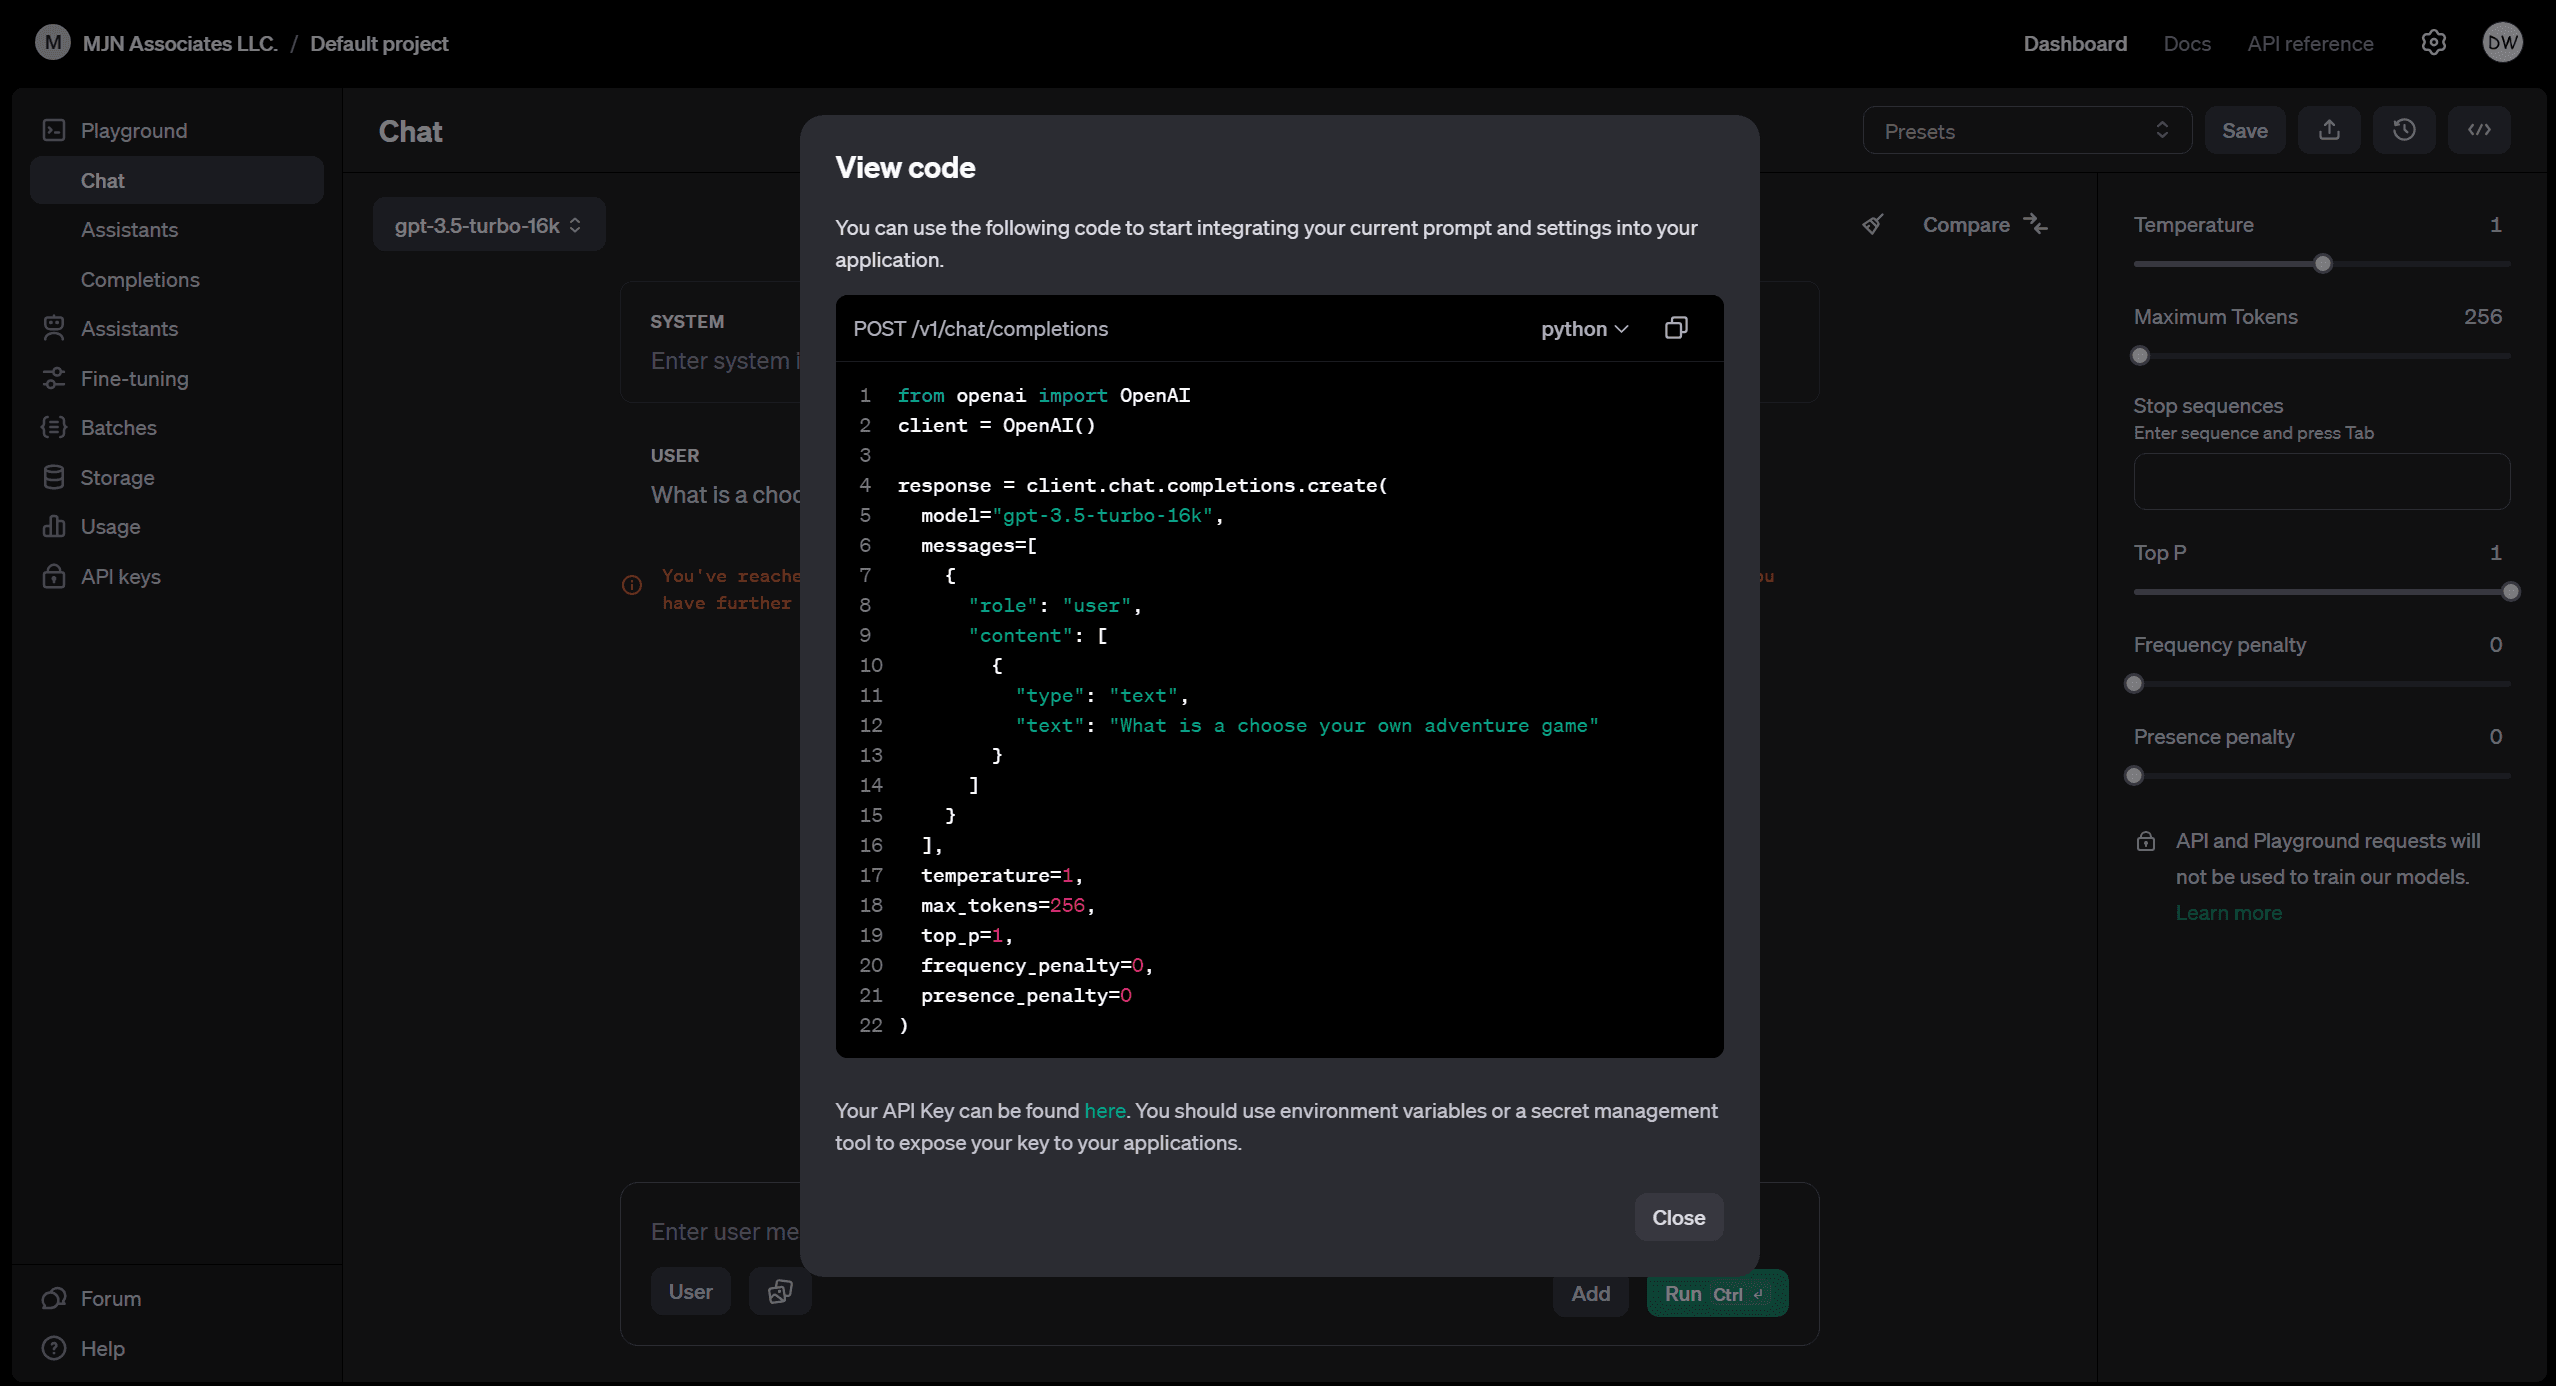
You will notice that for every variable in the call, there is a corresponding variable you can control via the GUI in the playground. That’s it. There is not a lot of magic.
Setting Up Your API Keys
Now that we know what an API call looks like, we are going to have to set up our API keys. OpenAI is going to milk you $$$$ to get started, but thankfully that will get you pretty far while testing.
To use the OpenAI API, you need to set up your API keys. Here’s how you can do it:
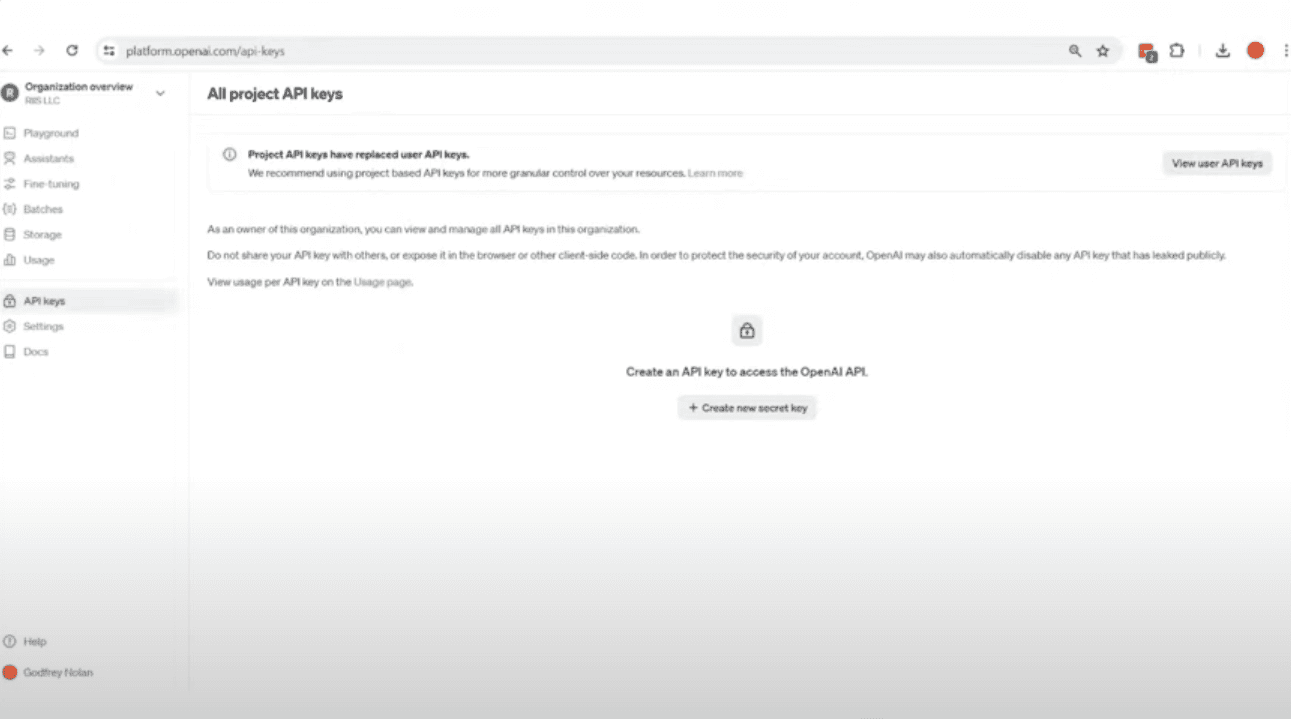
Navigate to the API Section: After logging in, navigate to the API section on the OpenAI dashboard.
Generate a New API Key:
Click on "Create new secret key".
Name your key and set the permissions (e.g., read-only, full access).
Click "Create secret key" and copy the key. Make sure to store it securely as you won’t be able to view it again.
Set Up Billing: If you haven’t already, set up a payment method for billing. This is necessary to use the API.
Save Your API Key: Store your API key in a secure place, such as an environment variable or a configuration file that is not included in your source code repository.
Getting Ready to Code
VSCode
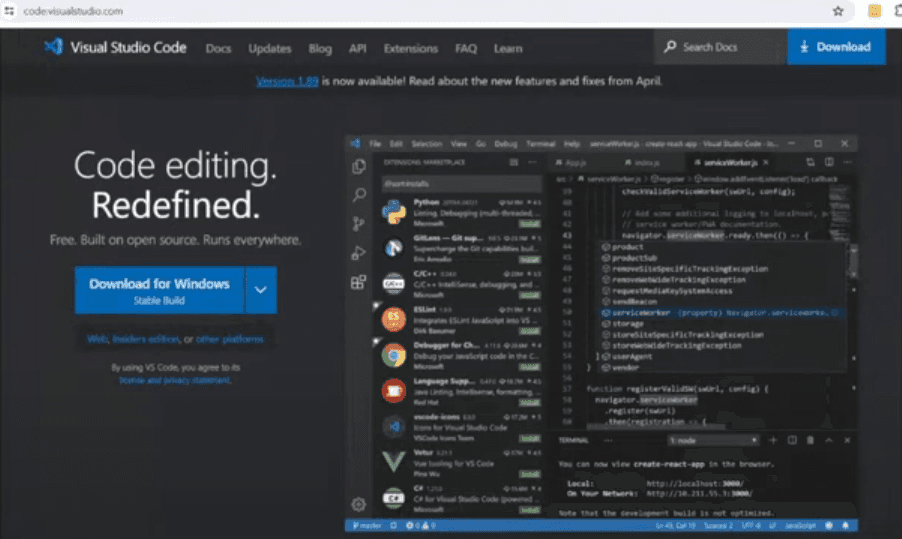
Technically, you can write all the code you need using Notepad or a text editor, but it’s 2024 and there are better environments to code in. We recommend using VSCode, which also has Github CoPilot integration. You can download it at code.visualstudio.com.
Python
You want to make sure you are running the latest and greatest version of Python on your system. Python comes pre-installed on a lot of OS distributions these days, but rarely is it going to be the most up-to-date version. If you don't, you can always download it from python.org and install it. If you are not sure exactly how to do this, now is great time to ask ChatGPT for an answer that is specific to your OS.
Once you know you have the latest version of Python installed, open VSCode, go to the Extensions view by clicking the Extensions icon in the Activity Bar on the side of the window, and search for "Python". Install the extension provided by Microsoft.
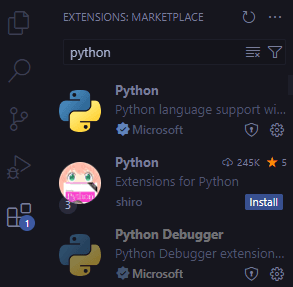
This will help with code completion, error detection and debugging.
You will need to install two important python libraries using the pip command. Use the terminal function in VSCode and type in the following in your directory of choice:
pip install openai
pip install config
The openai library is obviously to use OpenAI functionality. config will be used to store our API keys so they aren’t exposed to application users.
Your First API Prompt Call
In your project folder create a config.py file. Create a variable OPENAI_API_KEY=”” and fill in the space between the quotation marks with your key from OpenAI.

Create a second file called app.py. In it we will copy our code from the OpenAI playground dashboard from before. It should looks something like the following.
Okay, but this won’t do anything on it’s own so we have to use our key stored in our config file to get things going. Also, while we are at it, we will fill the messages variable with information to get our first prompt response.
Finally, we add the print() command to print our response from the API call to the console.
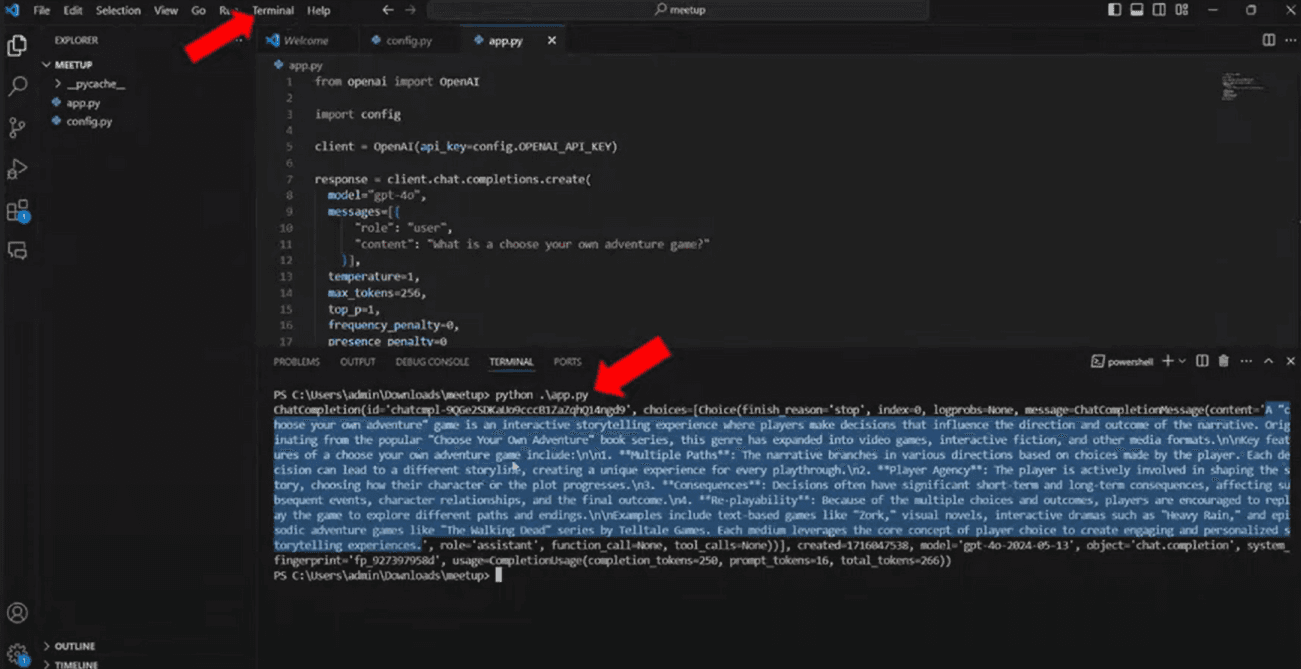
Run the command python .\\app.py from the terminal and you will be rewarded with your first ever API response from ChatGPT
Generating Images
While the original choose your own adventure games were only text-based, we can go a step-further and add images to ours with the DALL-E API. Luckily, this is not all that different from our prompt call.
Comment out the first response variable and add the following in the app.py file :
Execute the same python .\\app.py command as before in the terminal and you will get a block of text similar to this:

If you copy that into a browser, you should see something more like this:
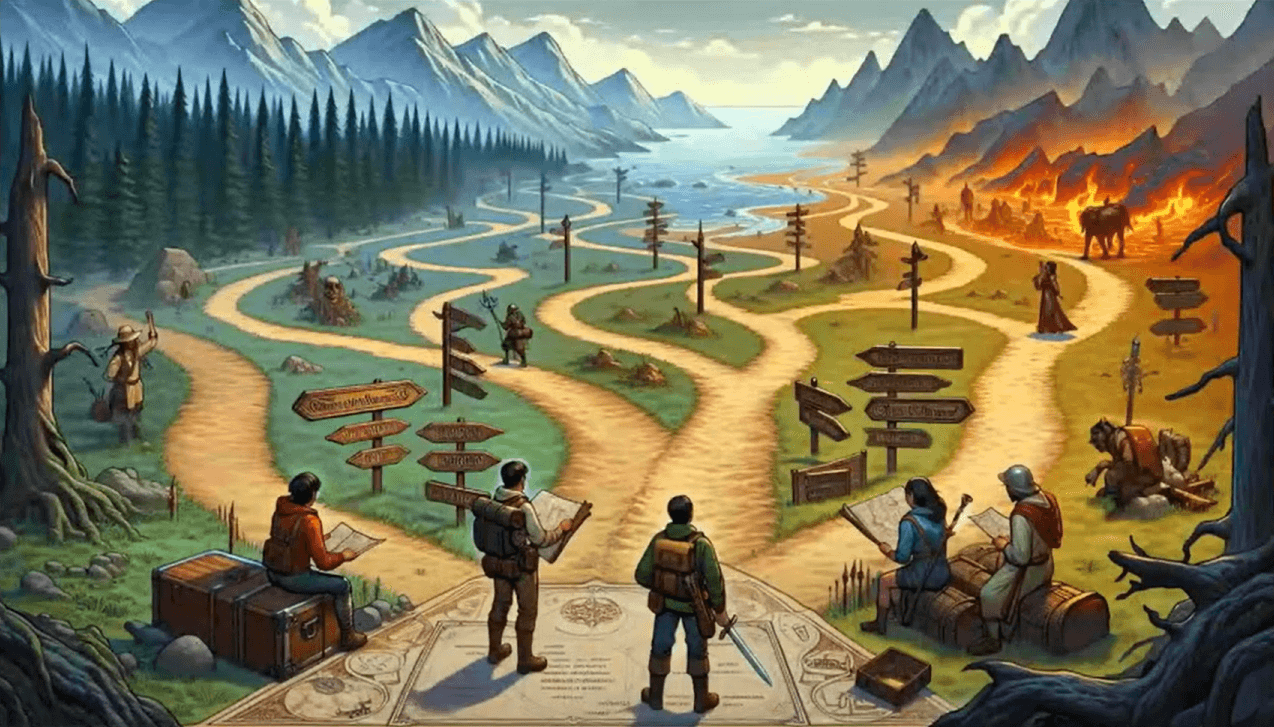
NICE!
Part 2: Creating a Choose Your Own Adventure Game
Setting up a Flask Template
It’s time to build an actual application. We chose the Flask framework for Python because it is one of the simplest ways to get an HTML-based app up and running for testing. To get started, you first have to install Flask for Python.
pip insall flask
Next, we need to create an HTML skeleton to fit our API responses into. Create a folder in your project with the name templates then create file in the project folder called index.html with the following code:
Now we are going to make some heavy modifications to our app.py file. Comment out our Dall-E call and add this code:
Let’s go line-by-line to describe what is happening here.
First, we have our imports, which include the main Flask class, a request function for handling incoming http requests, and render_template, which is as the name says, for rendering templates.
app = Flask(**name**) creates an application instance
The img variable is self-explanatory.
@app.route('/') defines our route for the root URL
The def index(): loads the variables and then creates the page by passing the variables into the template.
@app.route('/submit', methods=['Post']) defines our route after a choice button has been pressed by the user.
def submit(): creates a function and within it there’s the choice variable, which will make a request based on the user’s choice. The return line will return the string “You selected {choice}” back to the client as an HTTP response.
The final if statement runs the application and checks if the script is being run directly (as opposed to being imported as a module).
Getting the OpenAI Content on the Page
Creating the Starting Image
Remember that Dall-E API call we made earlier? Let’s change that into a function our app will call in our app.py.
You will also need to change img_path to this:
Constraining the Response
You may be wondering at this point, why are we starting with the image rather than the text prompt. Well, the term prompt engineering is not just an overblown industry term. Even at low temperatures, ChatGPT can be very variable at formatting its response structure. If your format is not consistent, it can be nearly impossible to parse and get onto the page.
To rectify this, you need an extremely large prompt like this.
Phew! That’s a lot of text for something that seems obvious, but actually, that’s not all. With ChatGPT it also helps to give it an example, so we will also add this to the prompt:
Generating our CYOA Content
We are going to store the combined text in a variable named system_directive and then we can create a function for our CYOA text. Place the code above @app.route(’/submit’, methods=[’POST’]) .
The most important part of this code is the message payload. Essentially, the first section is constraining the system to the format in our long prompt, and the second part is taking the user’s choice and passing it along.
We also need to modify our submit() now.
Here we’ve added a variable that takes the return of generate_cyoa() when fed the user’s choice. The return has also been modified to produce a string of the response.
This is the response we got from our test run. Yours will be different, but should adhere to the same format.

Don’t get scared, but we are going to use Regex. Regular expressions used to be scary, but now you can just feed the response above back into ChatGPT and ask it to help you parse it with Regex, and voila.
This same structure can be applied for each variable we want to parse from the response, including Story, Caption, Choice1, and Choice2.
Next we will modify our submit function to retrieve all of the parsed outputs and load them into the render_template.
You’re almost at the finish line. Just launch python app.py in the terminal and you should have a working CYOA game. If you run into any trouble, you can find the code here on Github.
Conclusion
In this tutorial, you learned how to create a classic Choose Your Own Adventure game from scratch using the ChatGPT API and Python. You applied your knowledge of making API calls to OpenAI to get responses from the ChatGPT language model and modified those responses to generate an interactive story experience with branching narrative paths. You used Python to build a simple web application with Flask that renders the story and choices from the API. This provides a great foundation for learning more advanced natural language processing and generative AI applications by integrating large language models like ChatGPT into interactive experiences.
